
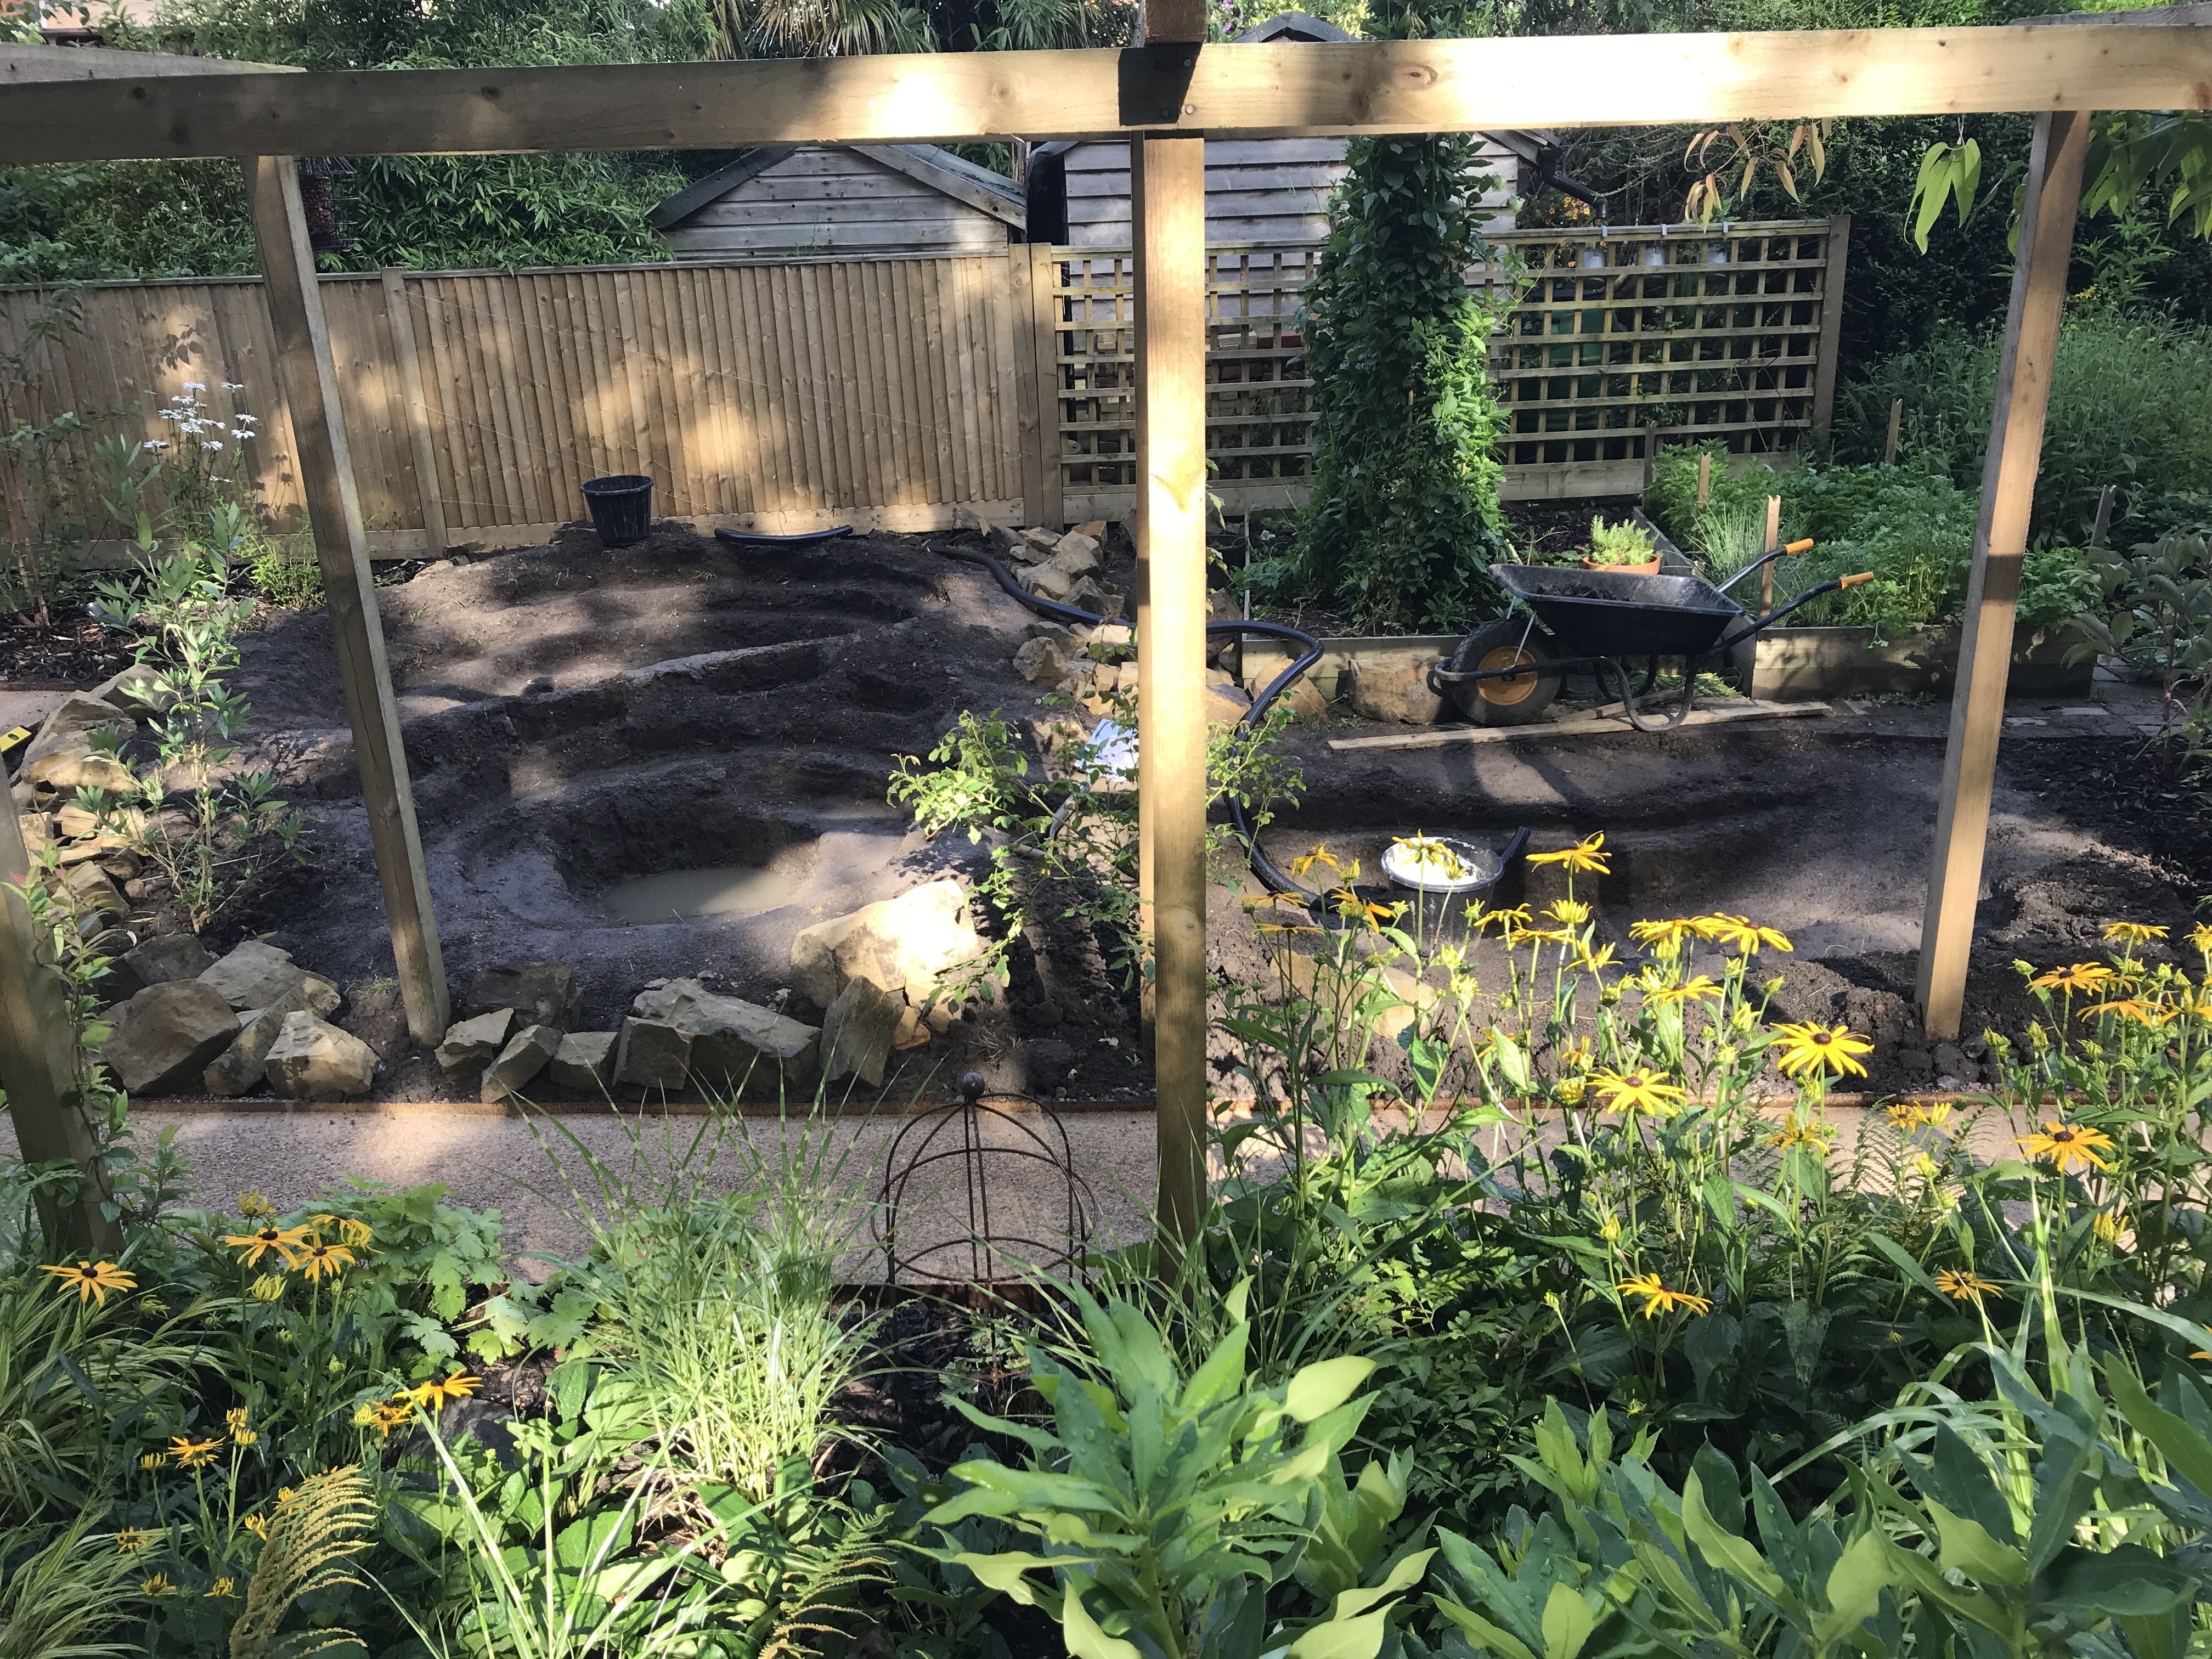
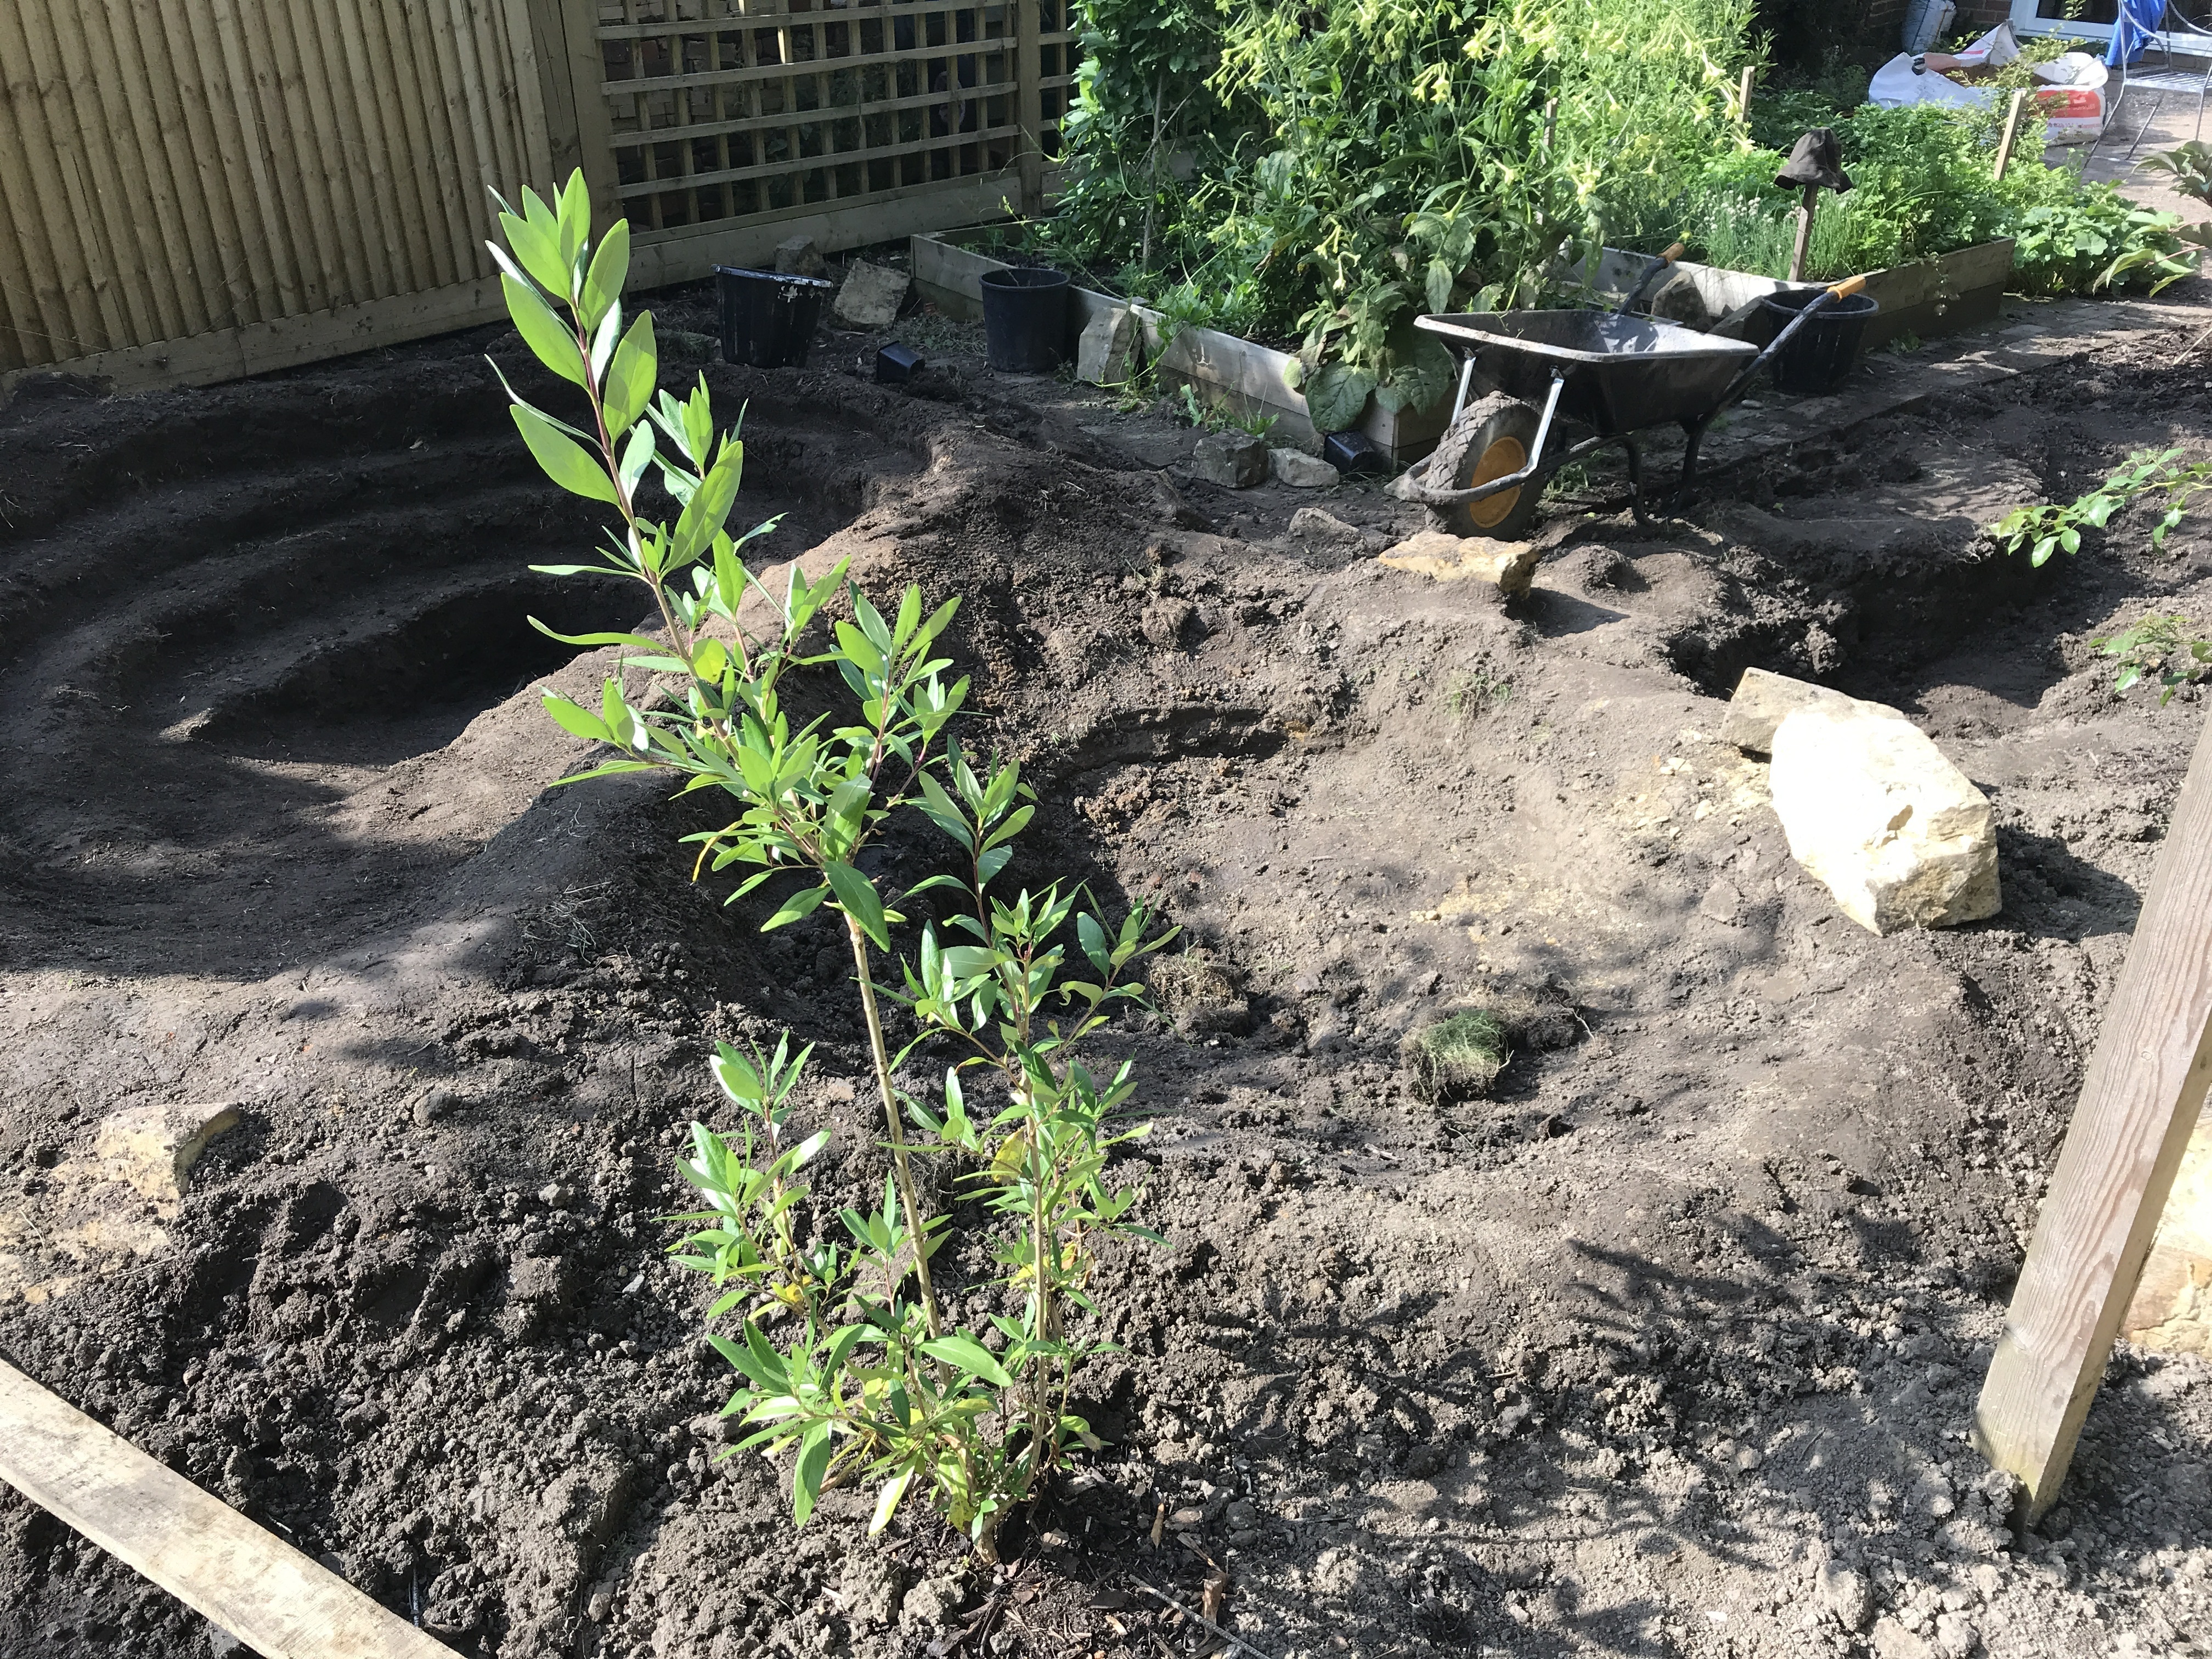
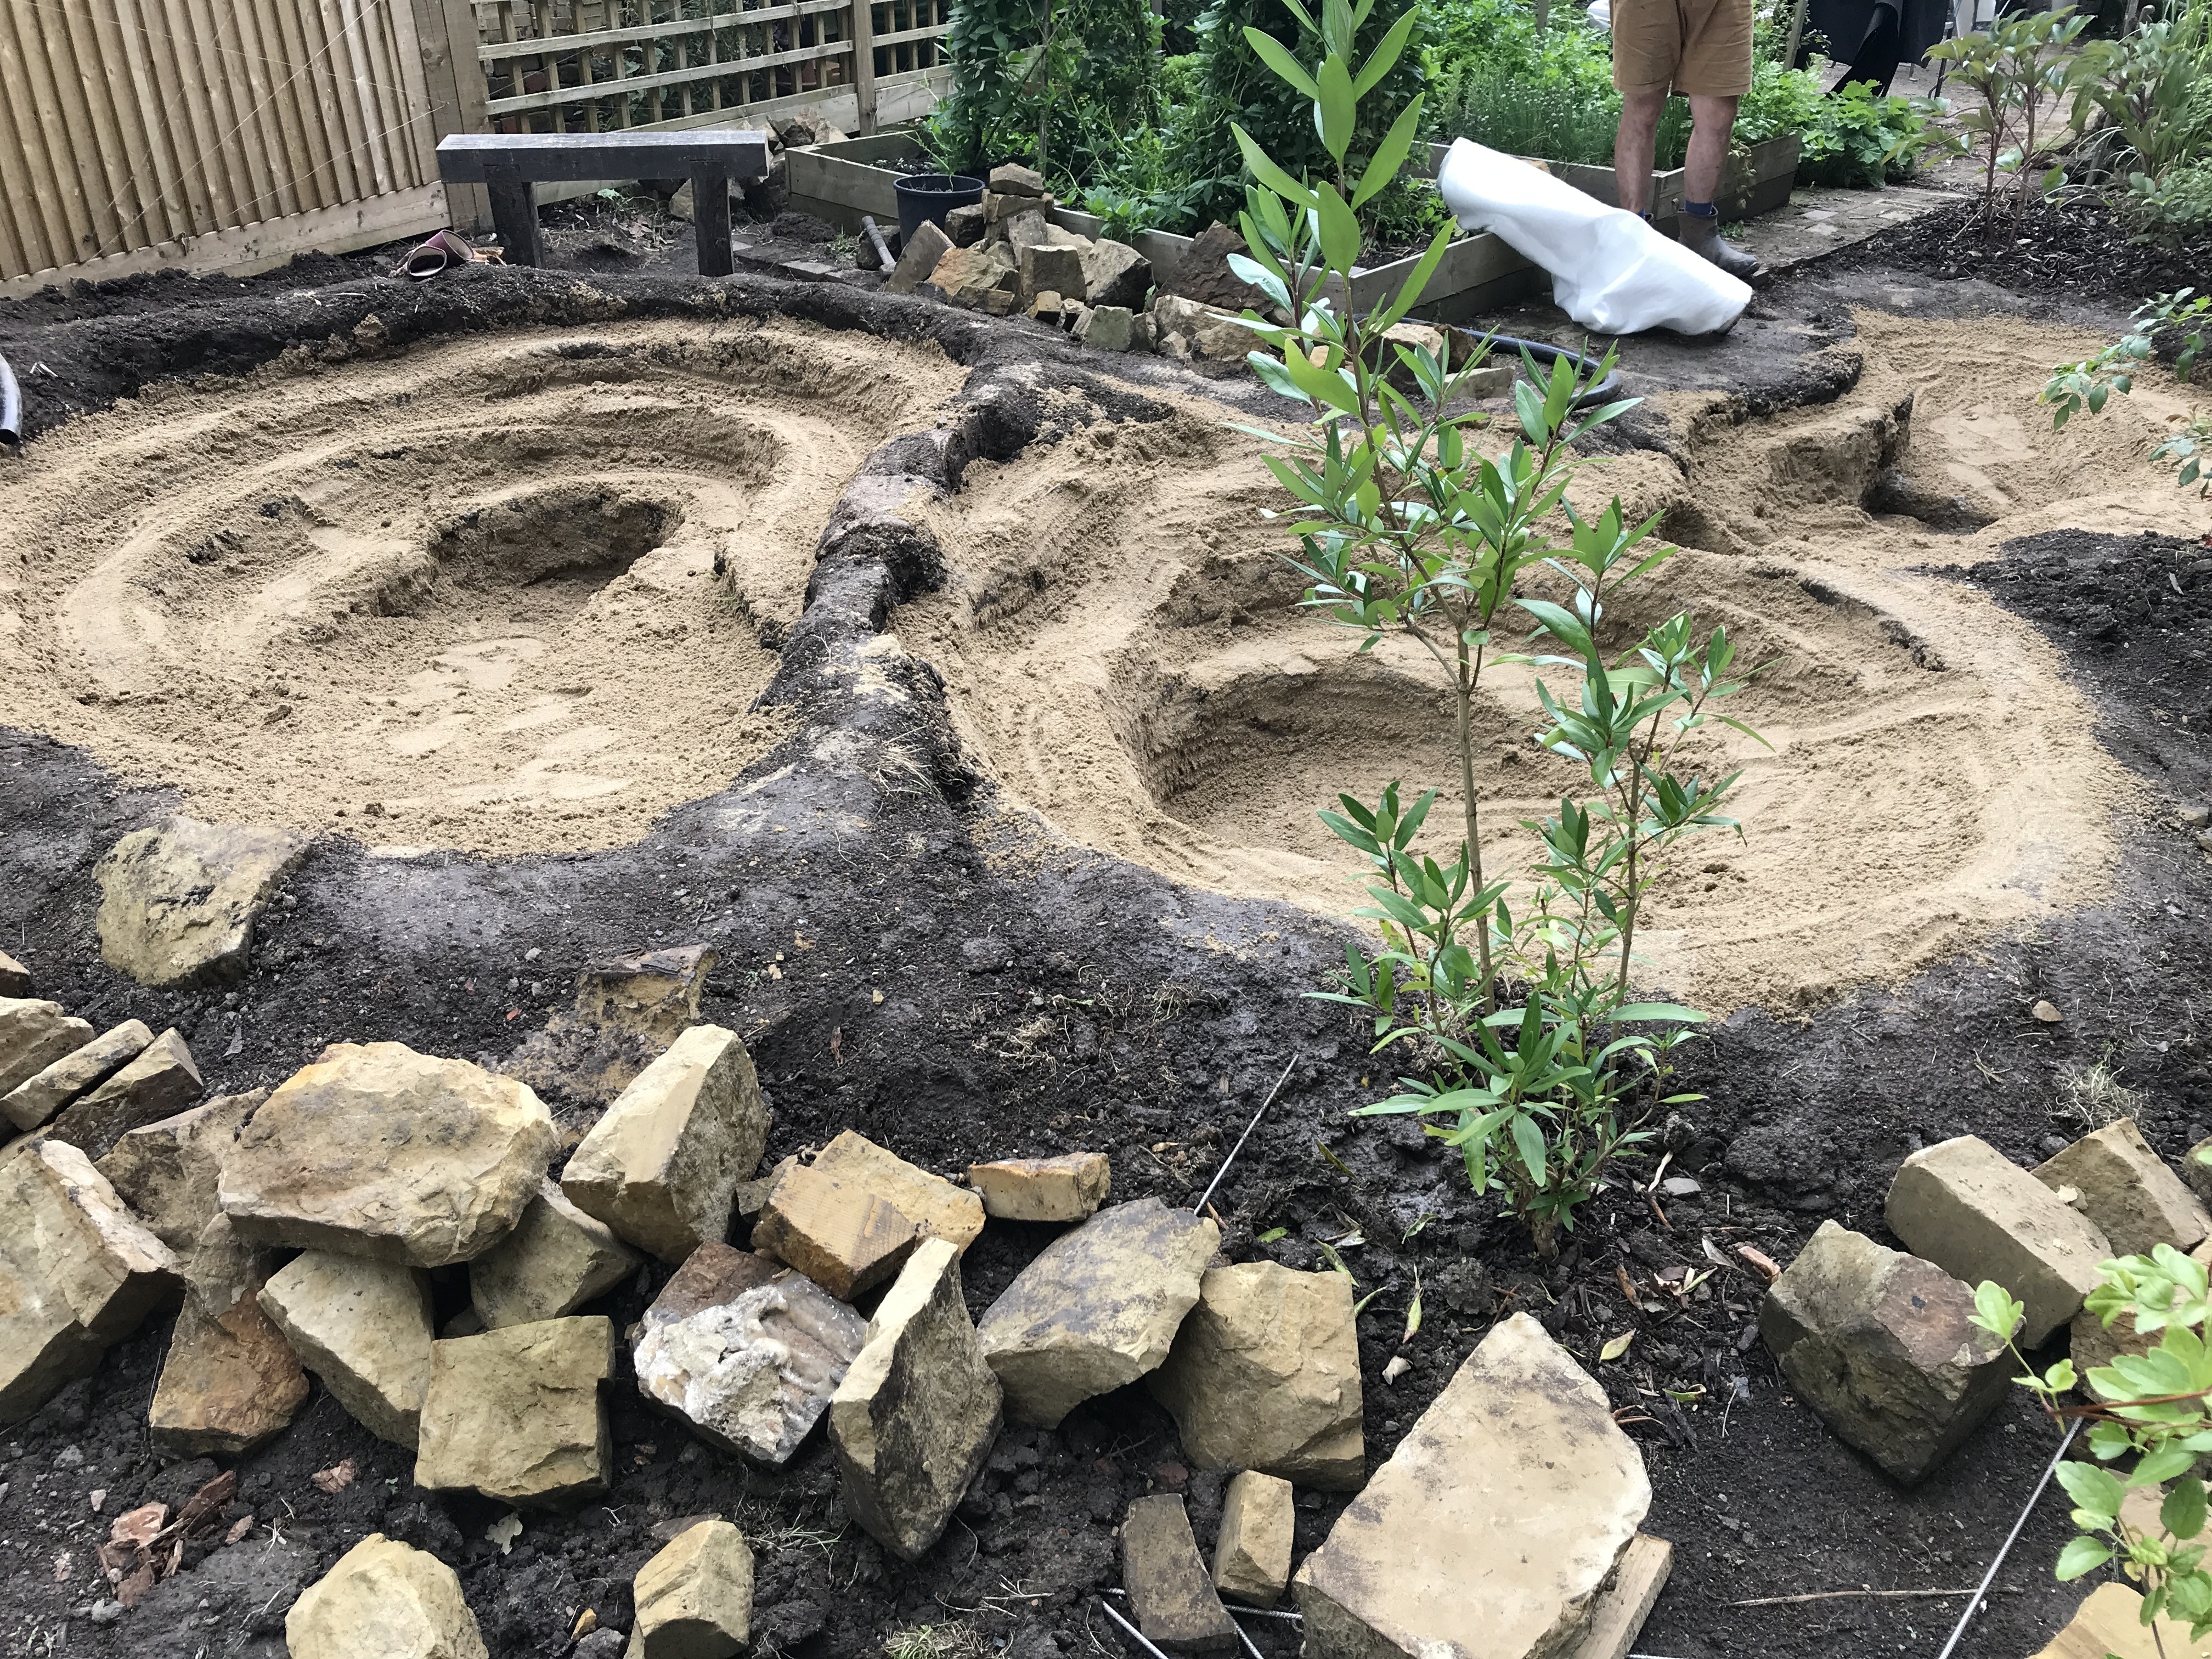
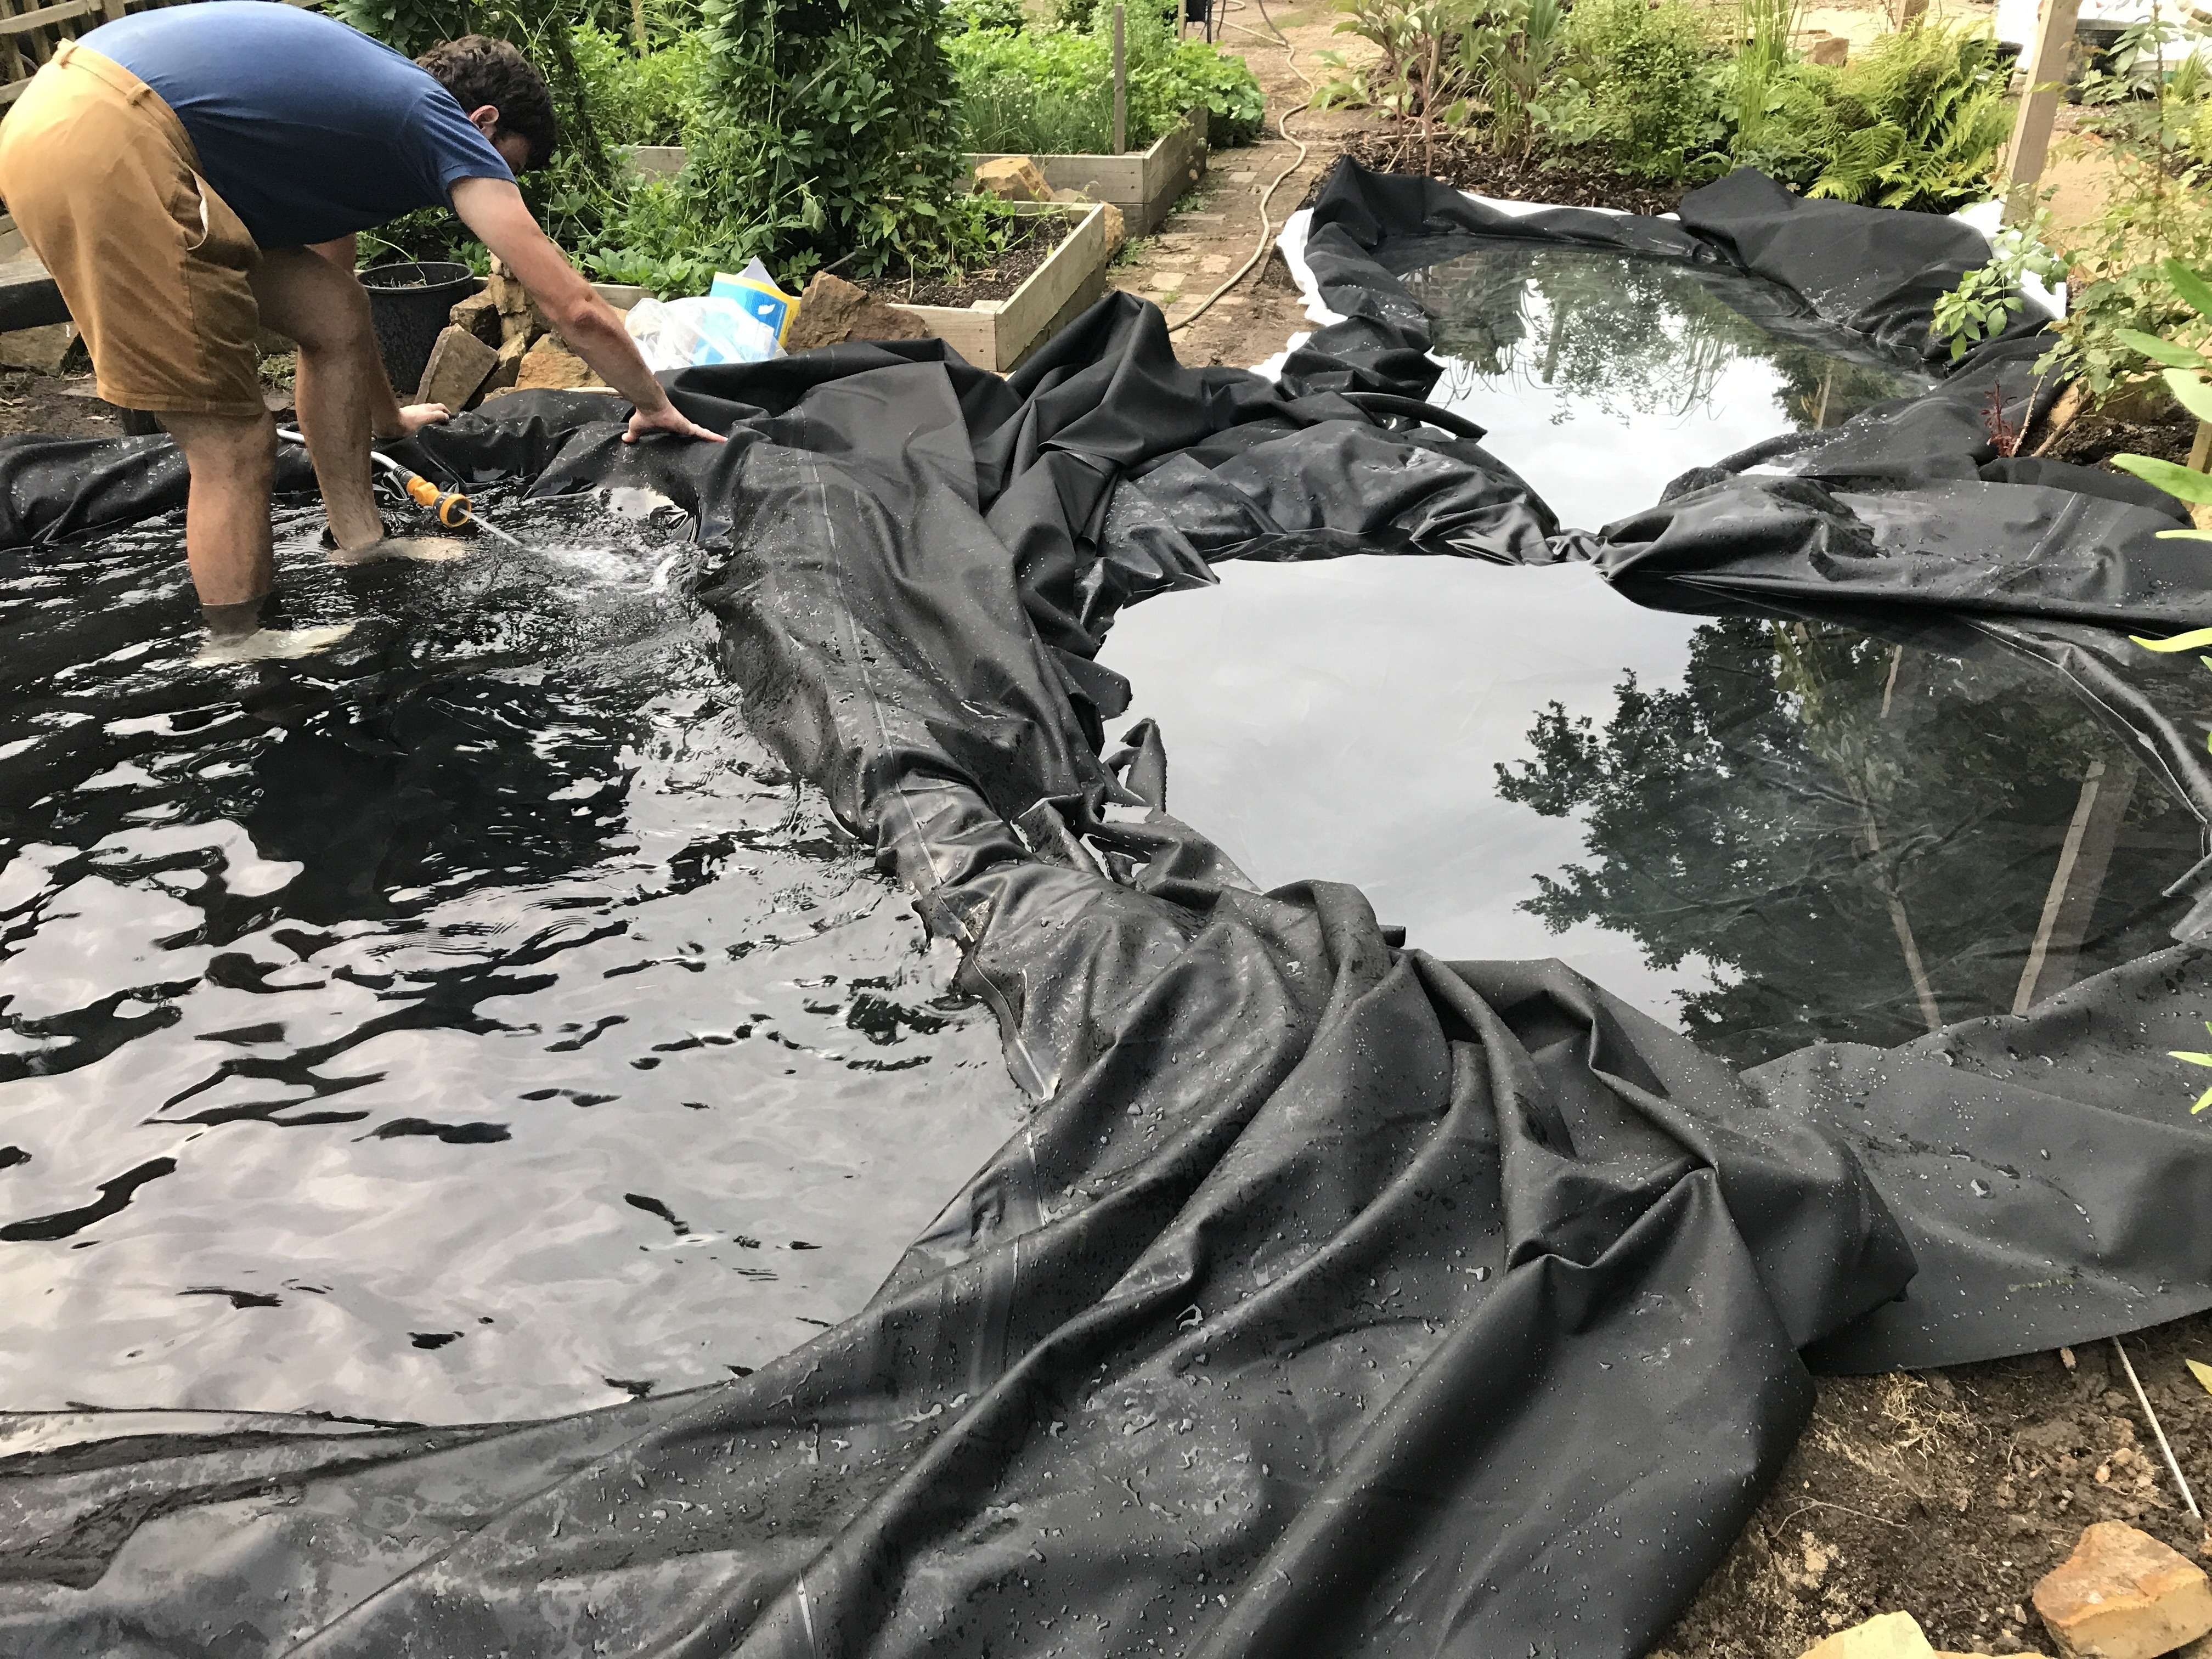
 In August we built three interconnected ponds. As you can see in the photo, we situated them in the ‘L’ shape of garden sandwiched between the raised beds and the pergola walk way. We started by removing the turf and used these to mark out the overall shape. As we have a high water table and wanted to create water falls in between each pond, we had to raise the level of the farthest one. We used the turfs to mound up to the required height and then used a spirit level to check where the water level would sit. As we want to attract as much wildlife as possible, we included a beach area on each pond for animals to be able to get in and out as they please. After digging down to the desired depth, we then constructed differing height planting shelves; this is important as pond plants require different water depths (you can make them out in the photo below).
We thought it would be a good idea to add a layer of sand on the base of each pond (followed by a thick underliner) as we found so much glass in the ground. Hopefully this means the liner will be protected from any sharp edges that could puncture it.

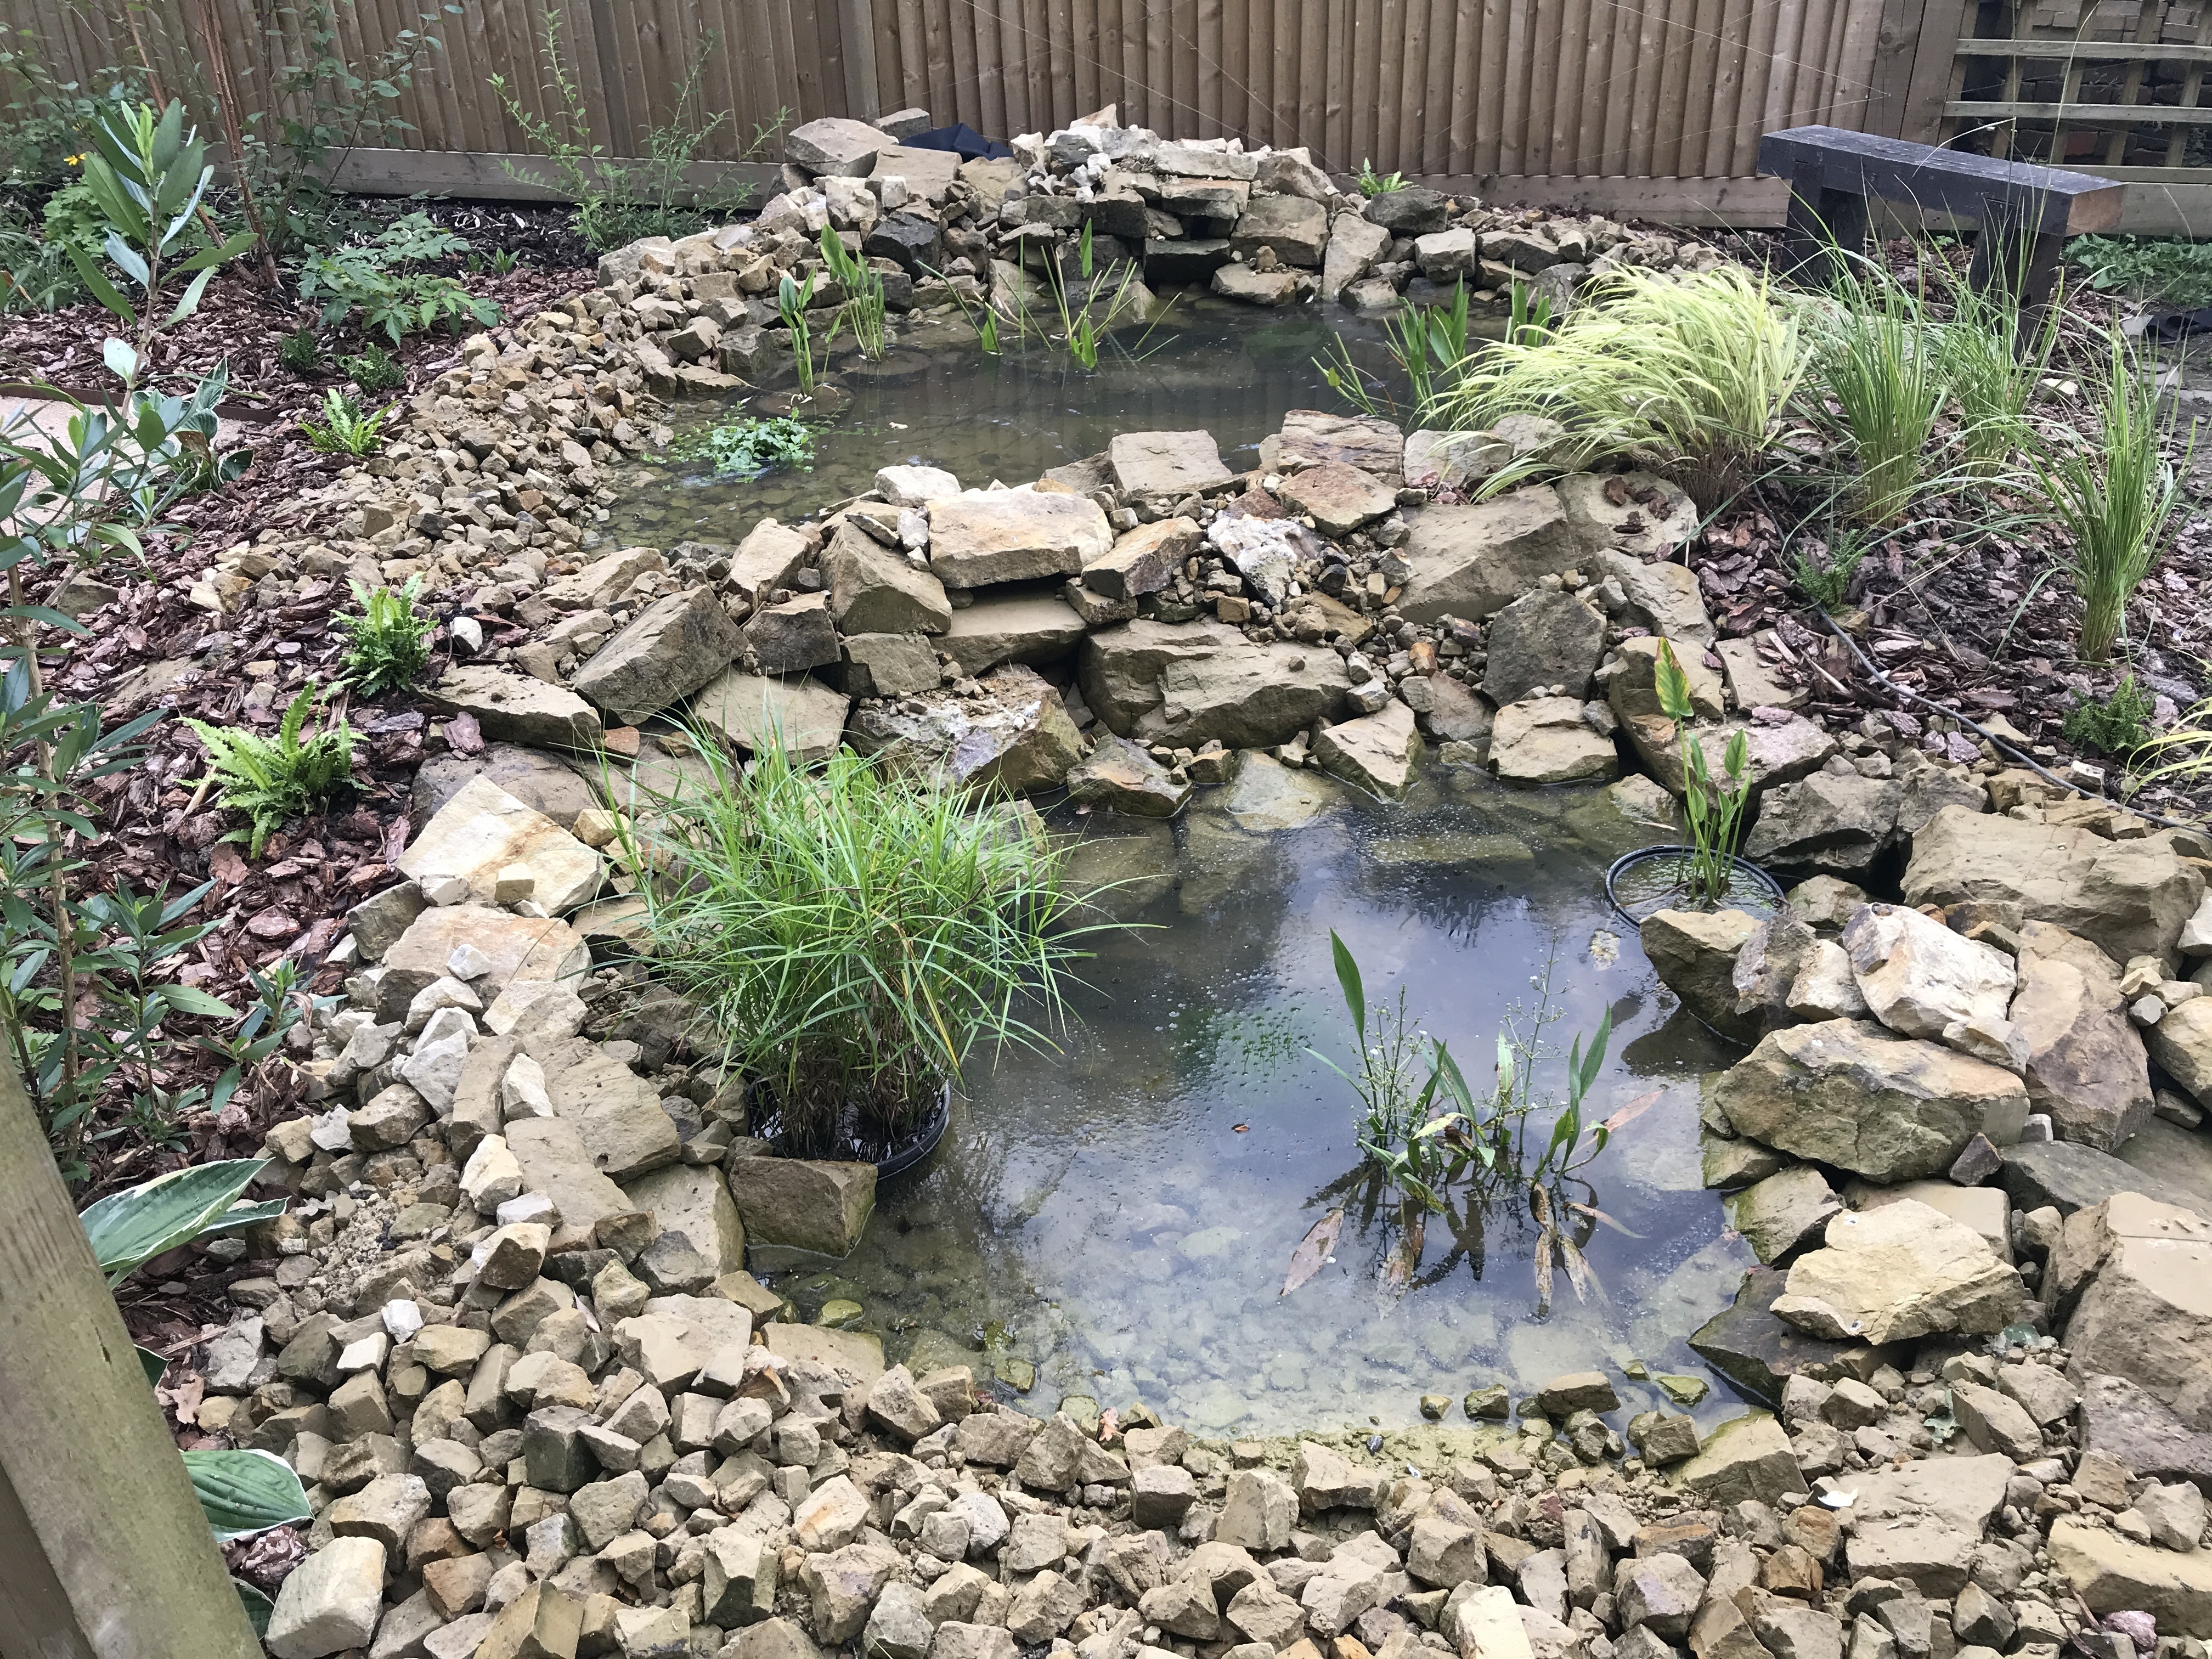
We used the the left over sandstone from the drystone wall project to edge each of the ponds (and hide the  liner beneath). We also bashed up some smaller stones for the beach areas which I think works well. It took a long time to select and place the stones surrounding each waterfall; we took the time to find larger framing stones to surround each of the spill stones (where the water falls off). We created different height water drops as this helps to create a richer sound; for the shallowest pond we also formed a small rock pool beneath the waterfall (see below) and this makes a lovely sound as the water falls into it. I’ll post a photo with it all switched on soon.
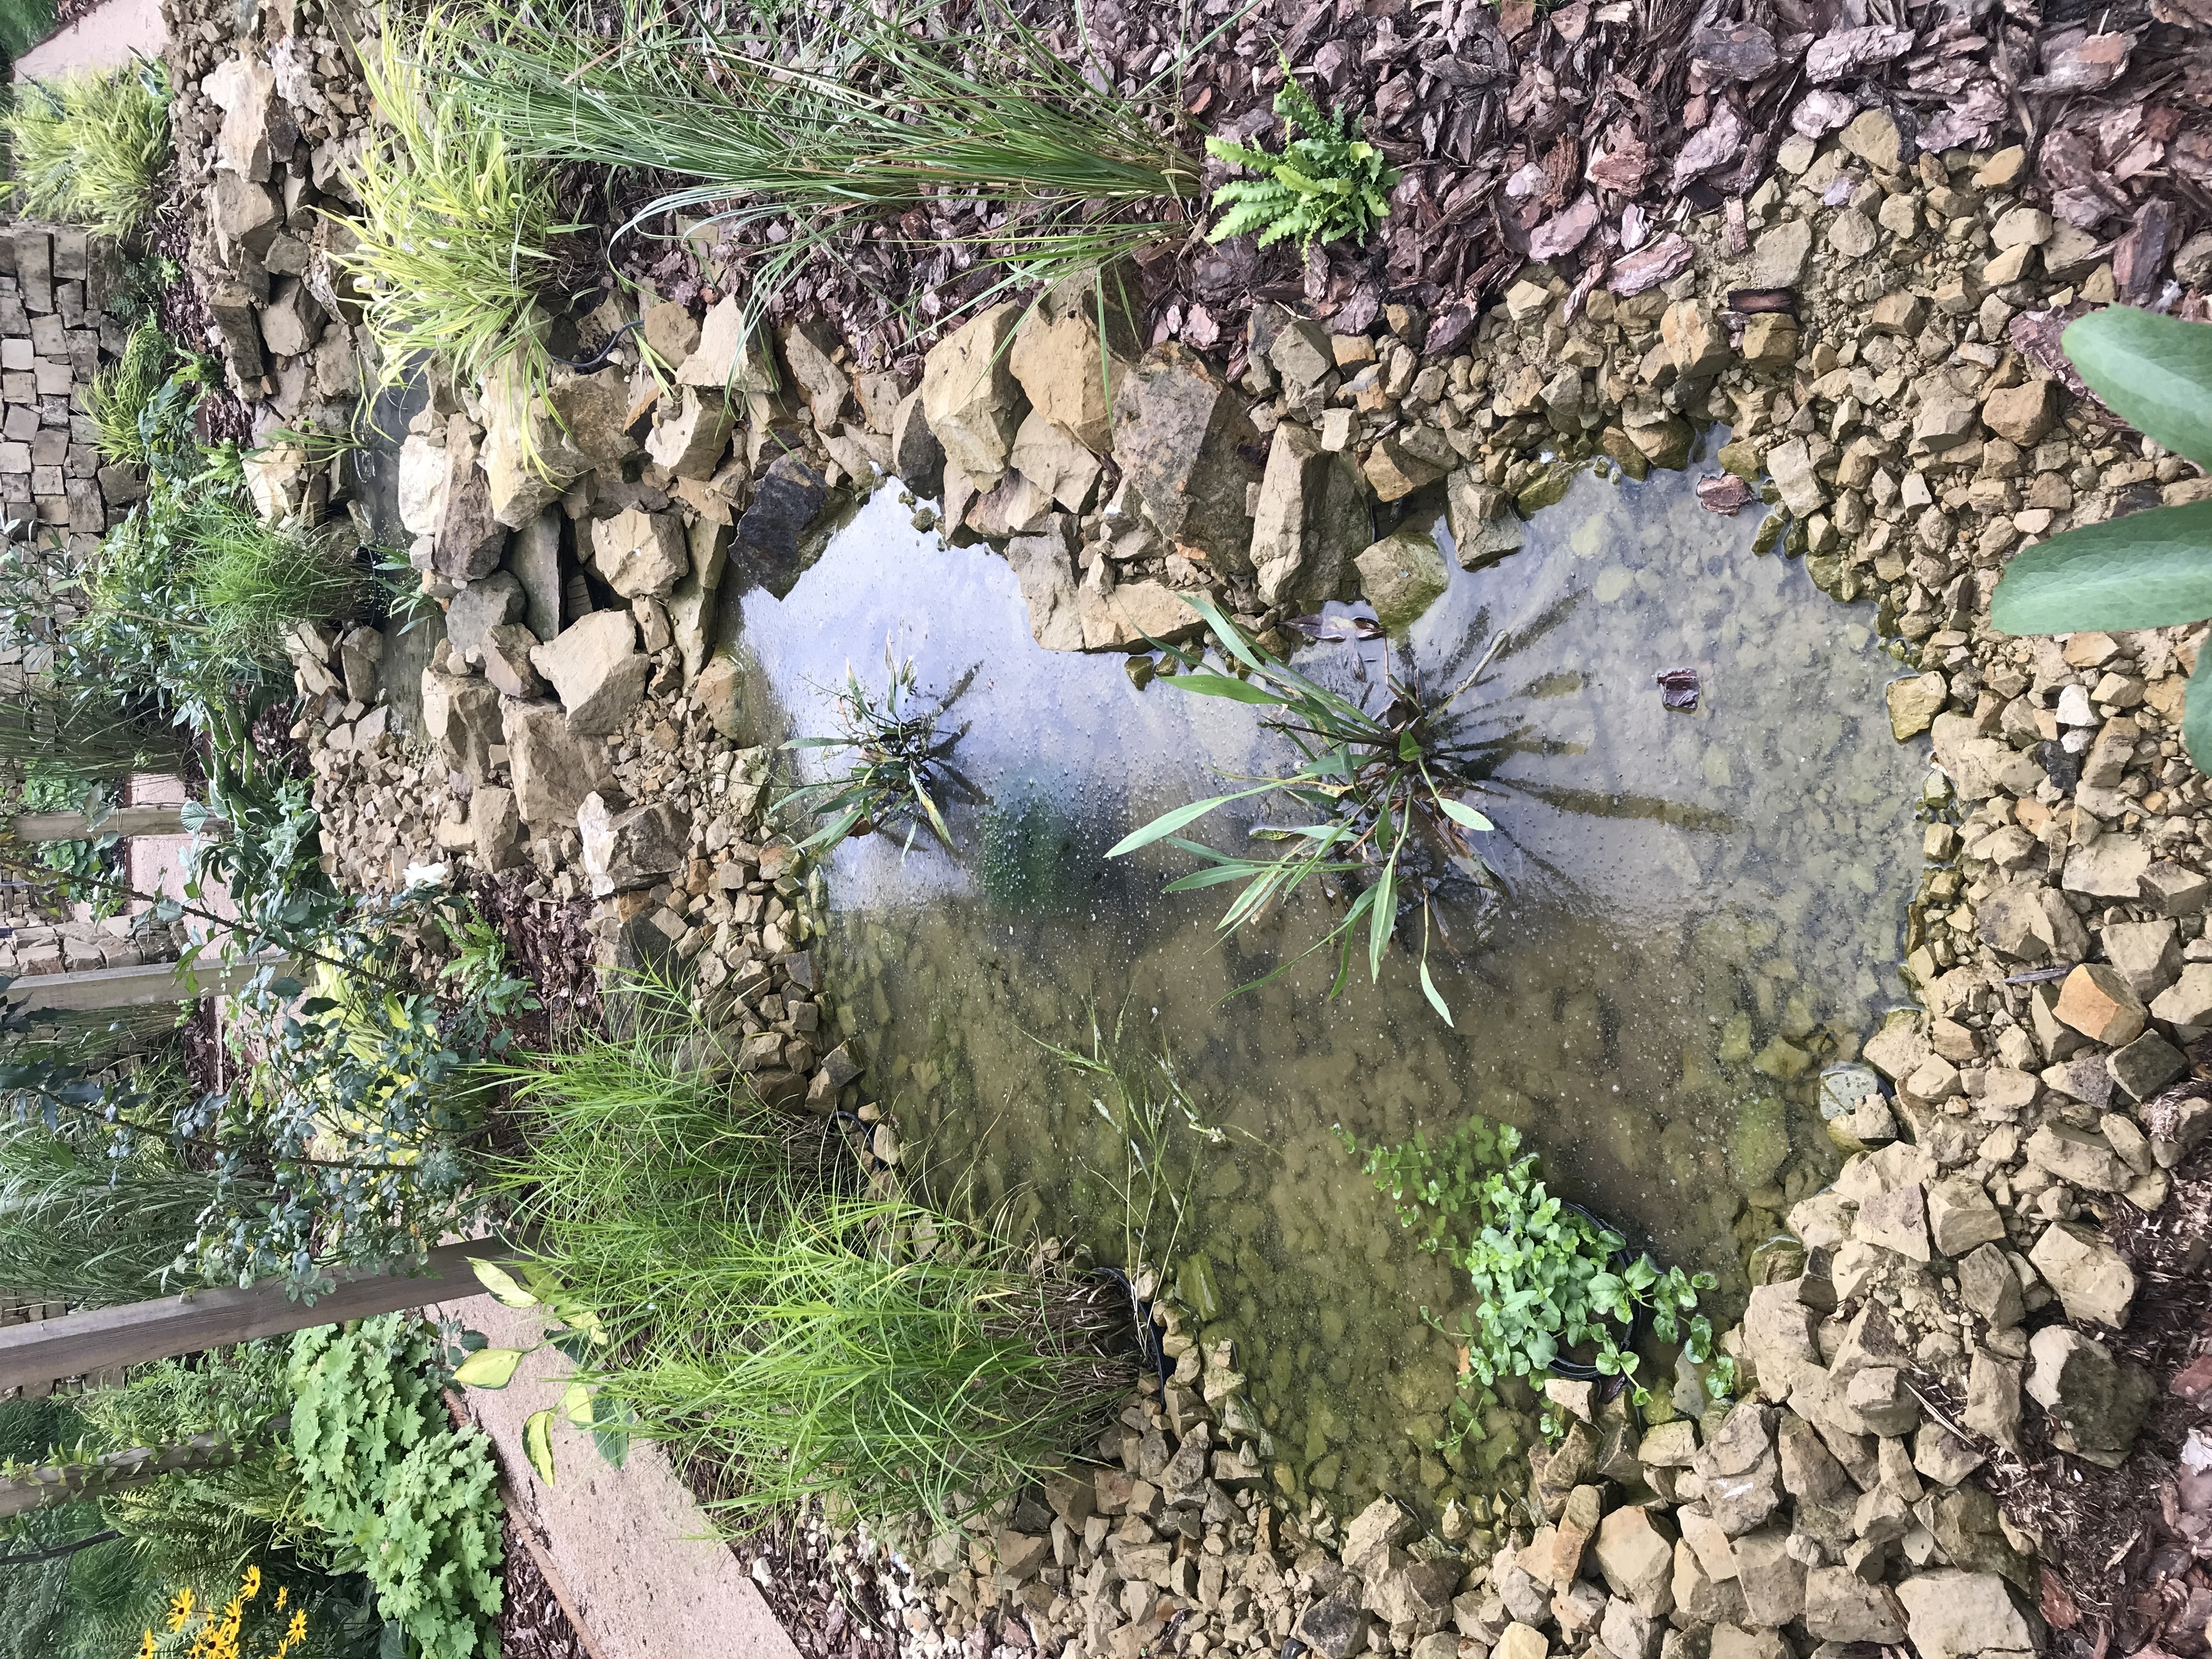
Luke also made this oak sleeper bench which is so lovely to enjoy the ponds; you also get a great view of the wide border (see photo below). We intend to plant some tall shrubs/grasses behind and around it so that it’s more enclosed. This will also help to create a green backdrop to conceal the neighbours fences. We are yet to finish the stone surrounding the water outlet into the top pond – excuse the liner on show!
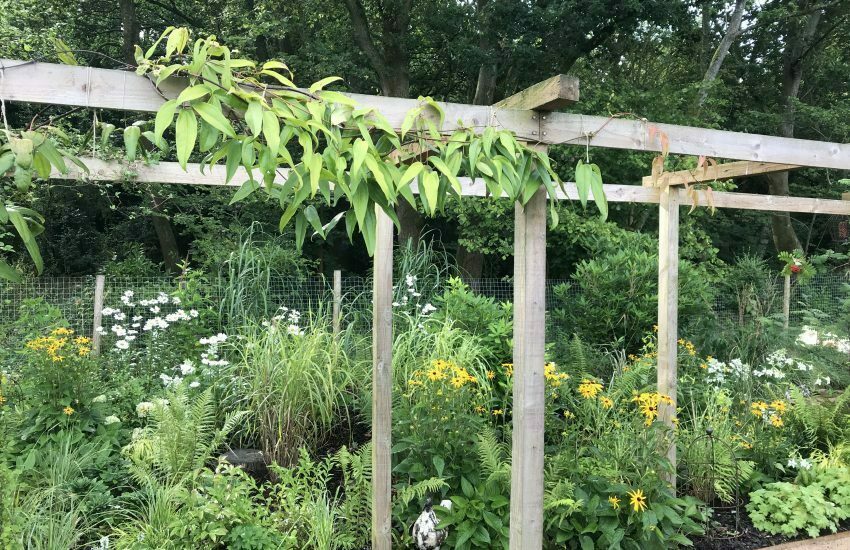
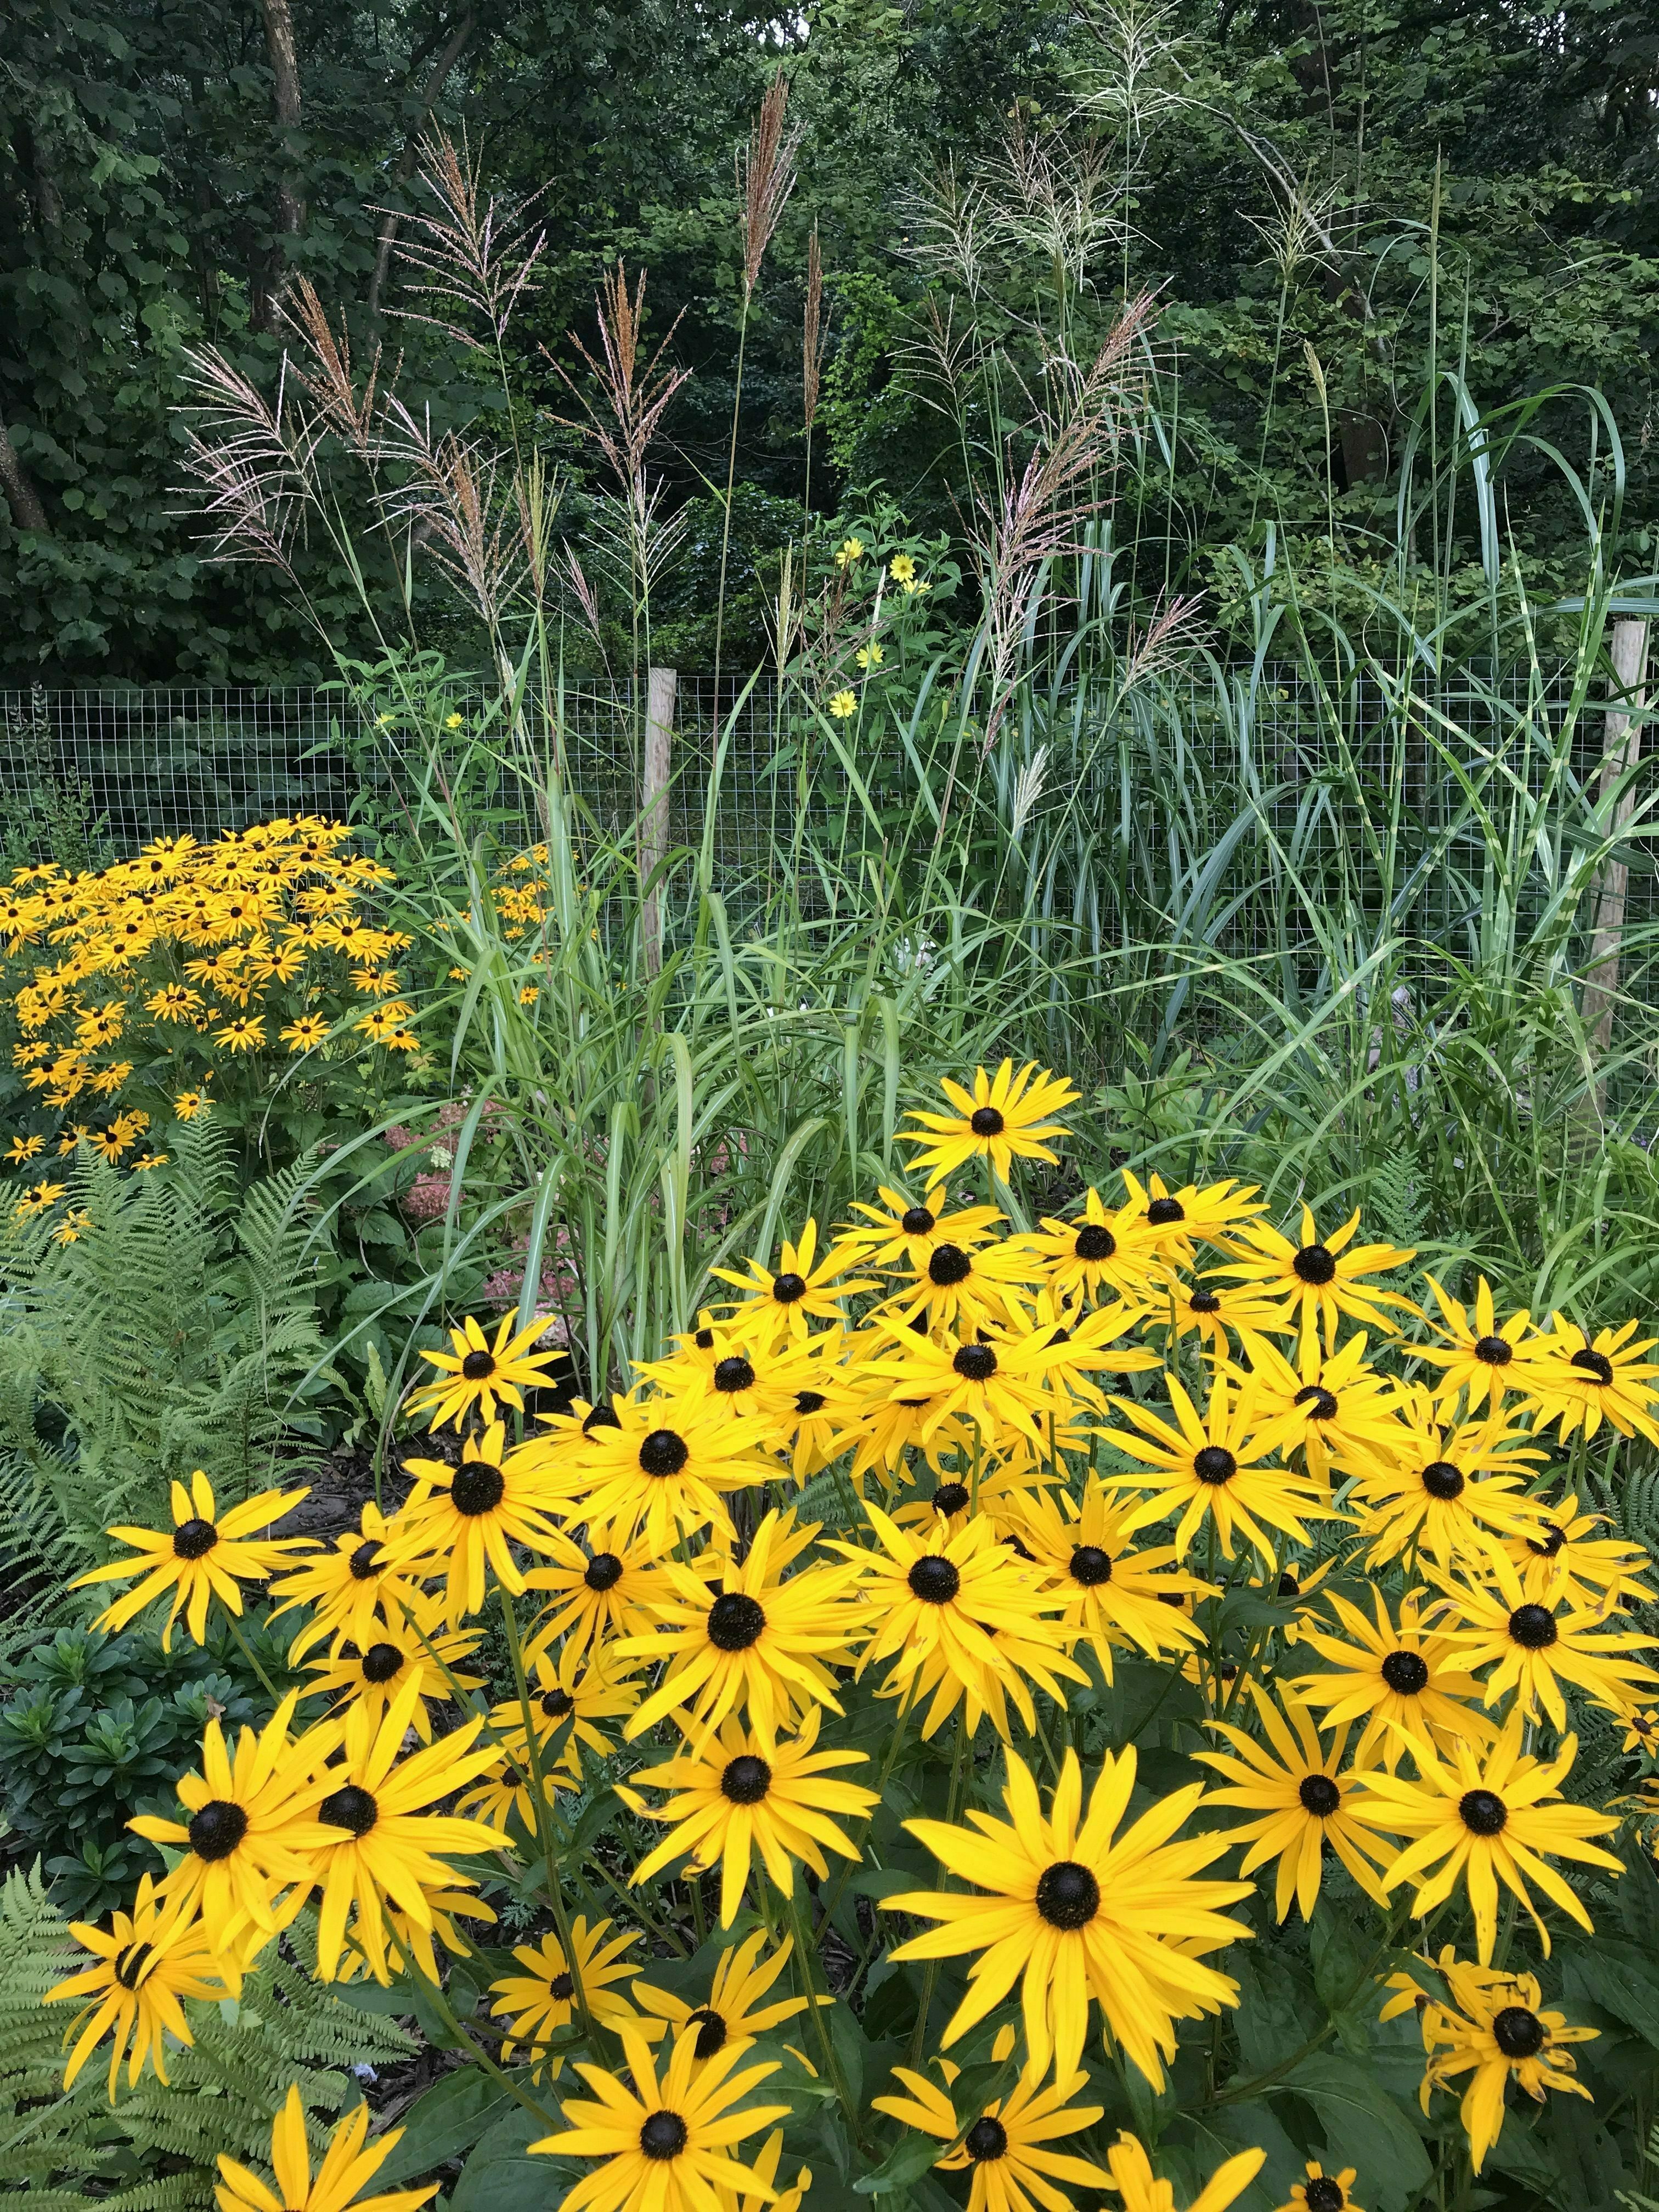
Here is a picture of the wide border – I’m pleased with how the clematis armandii has grown along the pergola this year. You can also see the ornamental miscanthus grasses here towards the middle and back which I think have been a really successful addition.
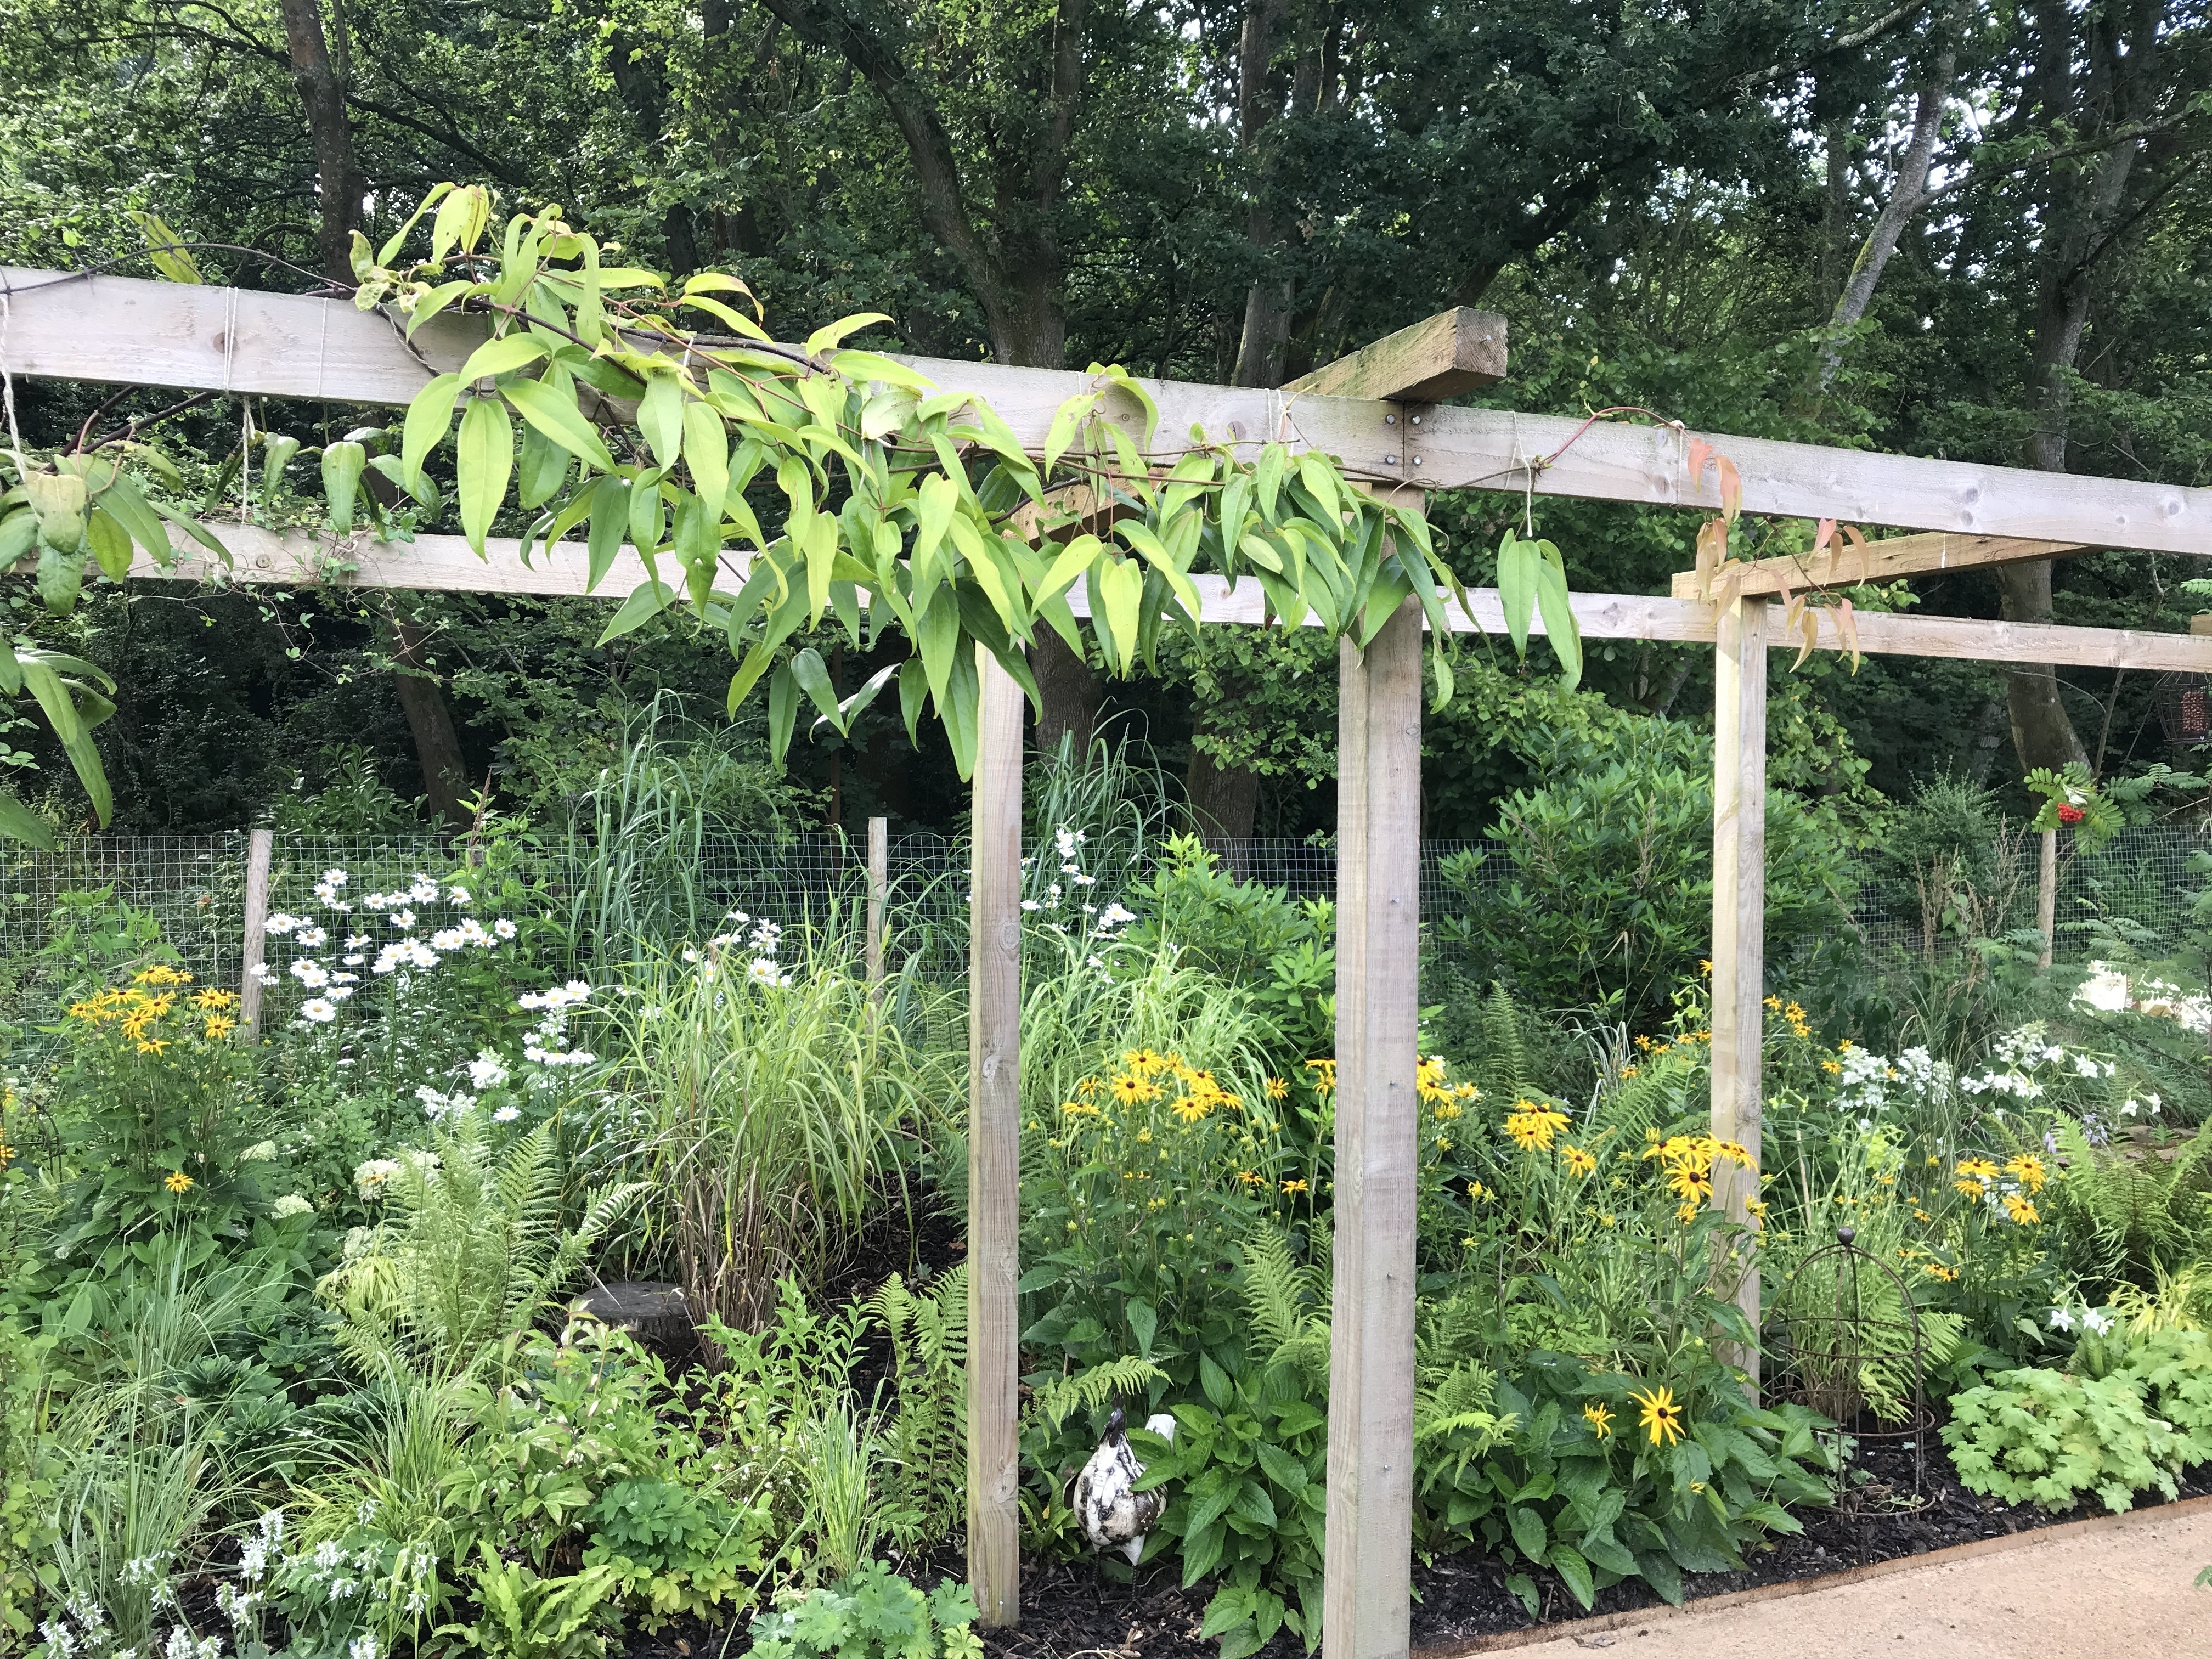
The flower spikes of miscanthus sinensis ‘malpartus‘ have recently emerged and look stunning.


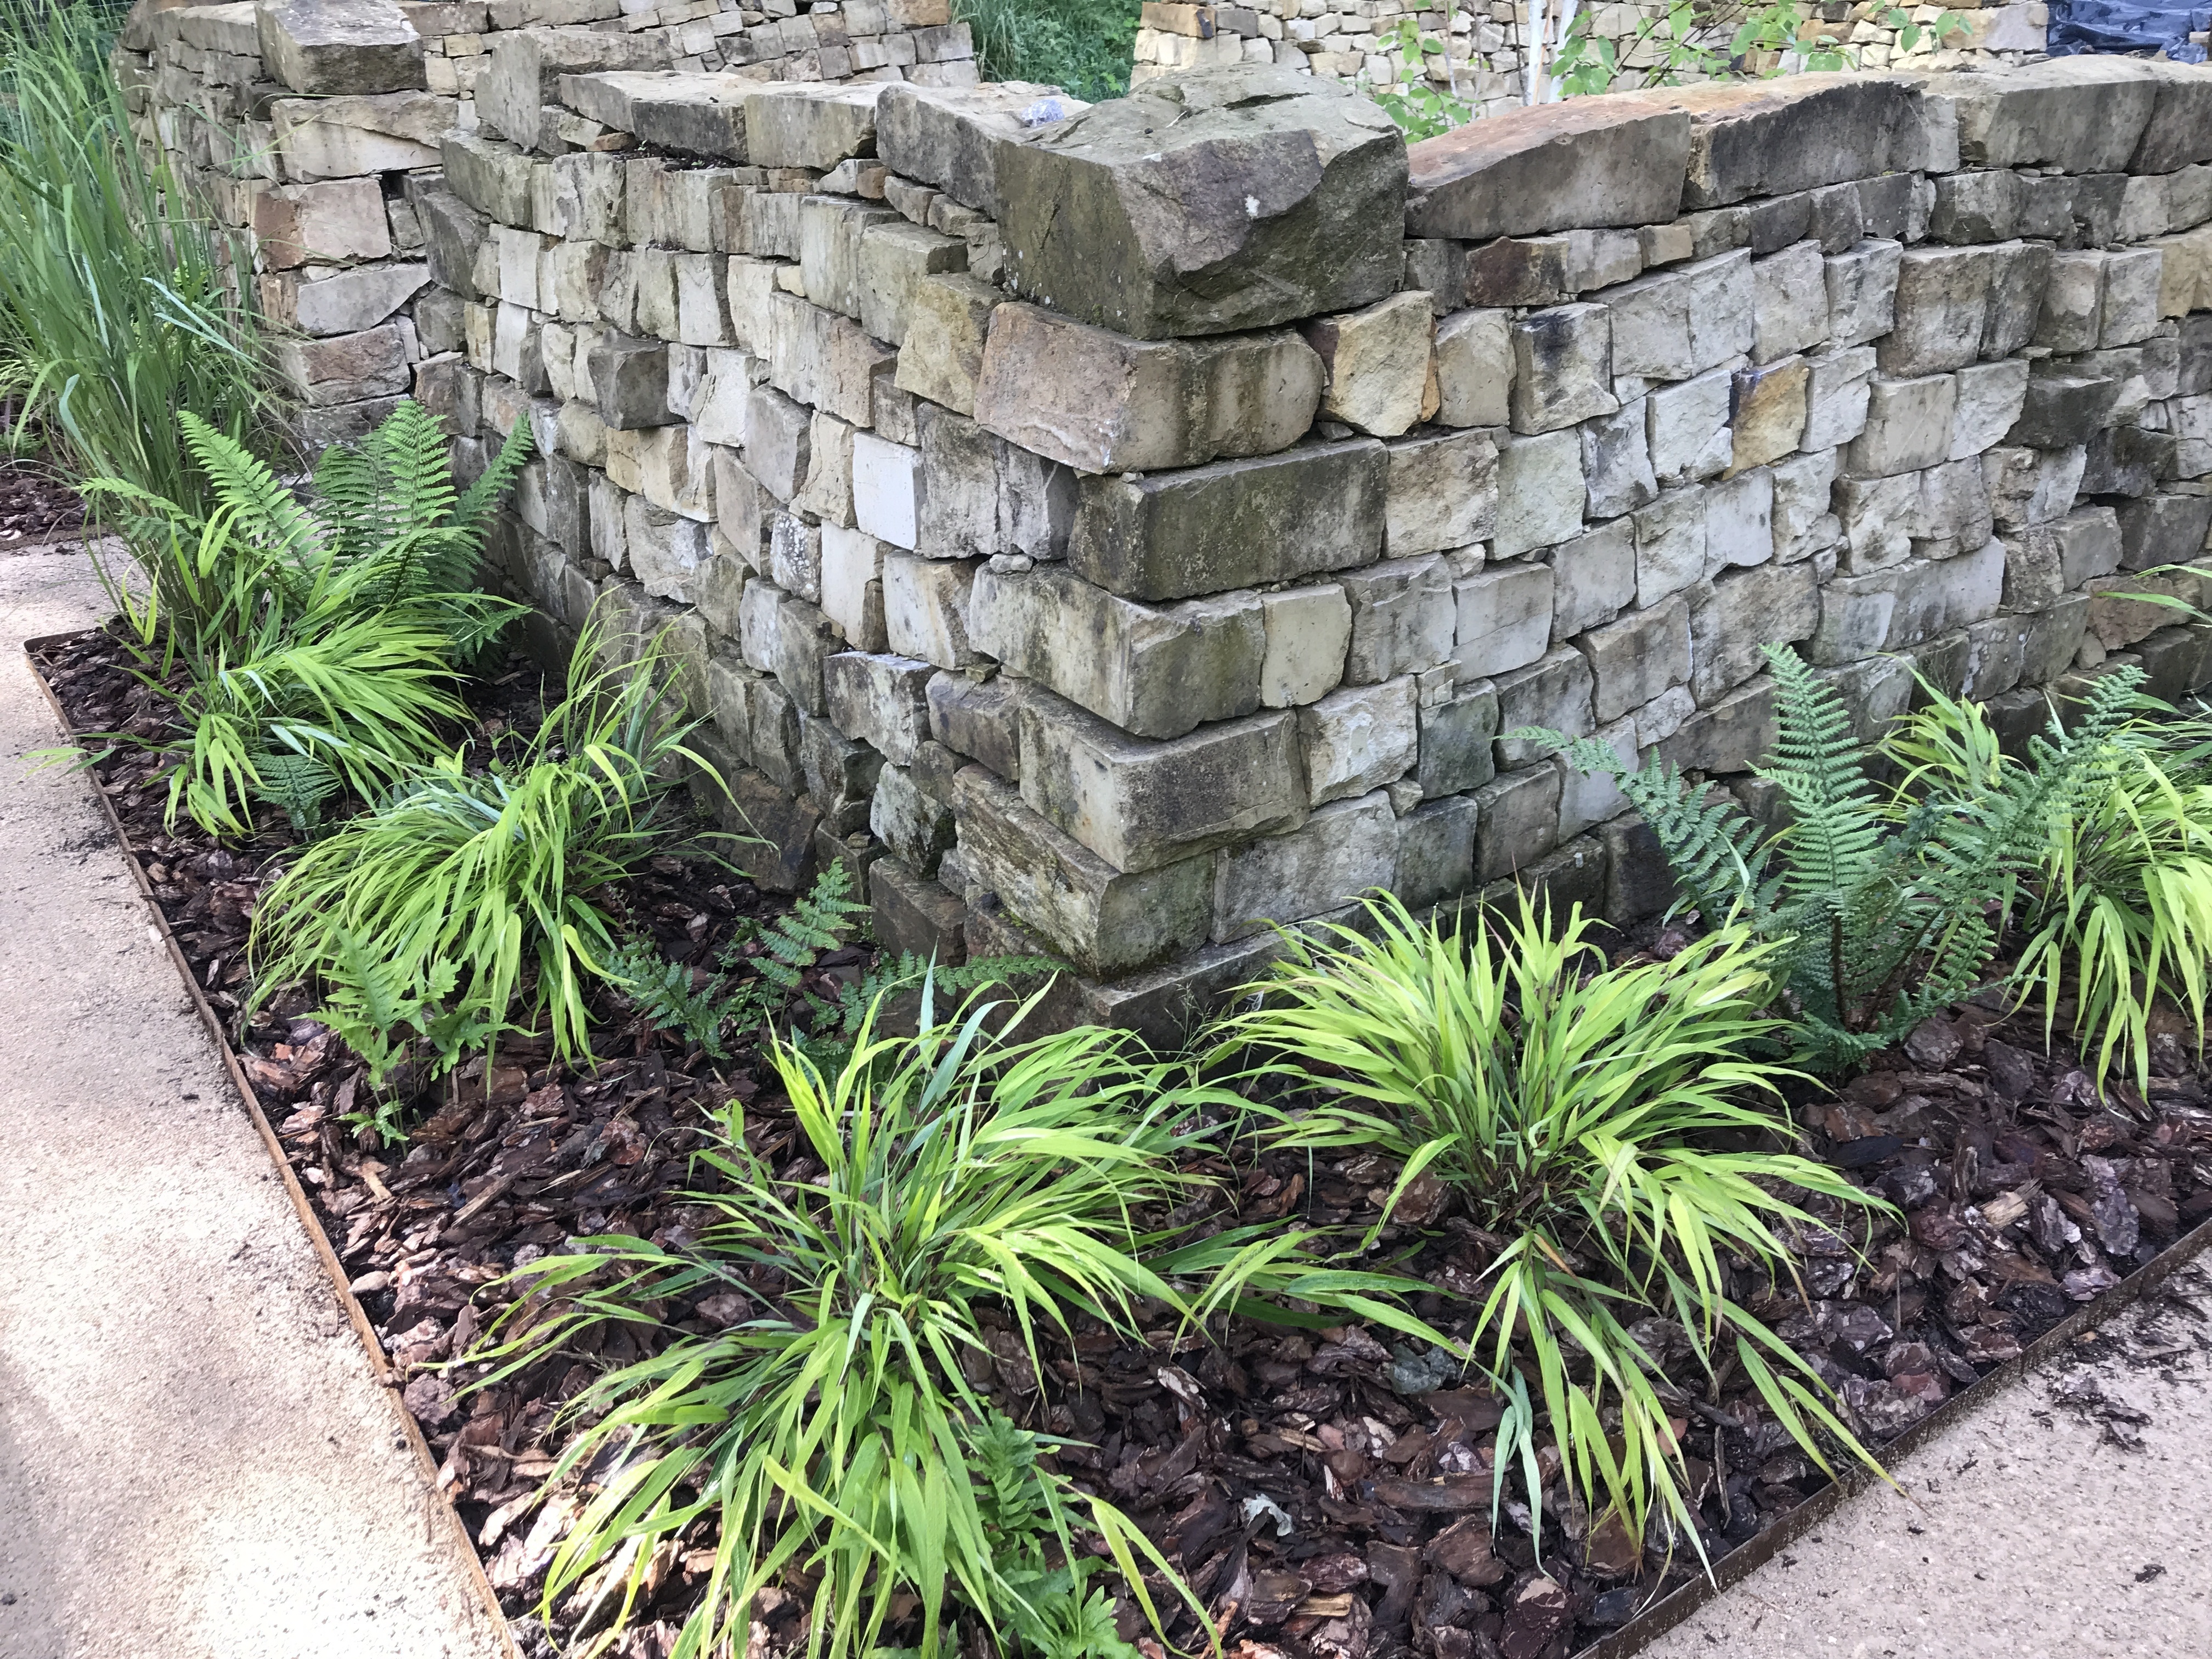
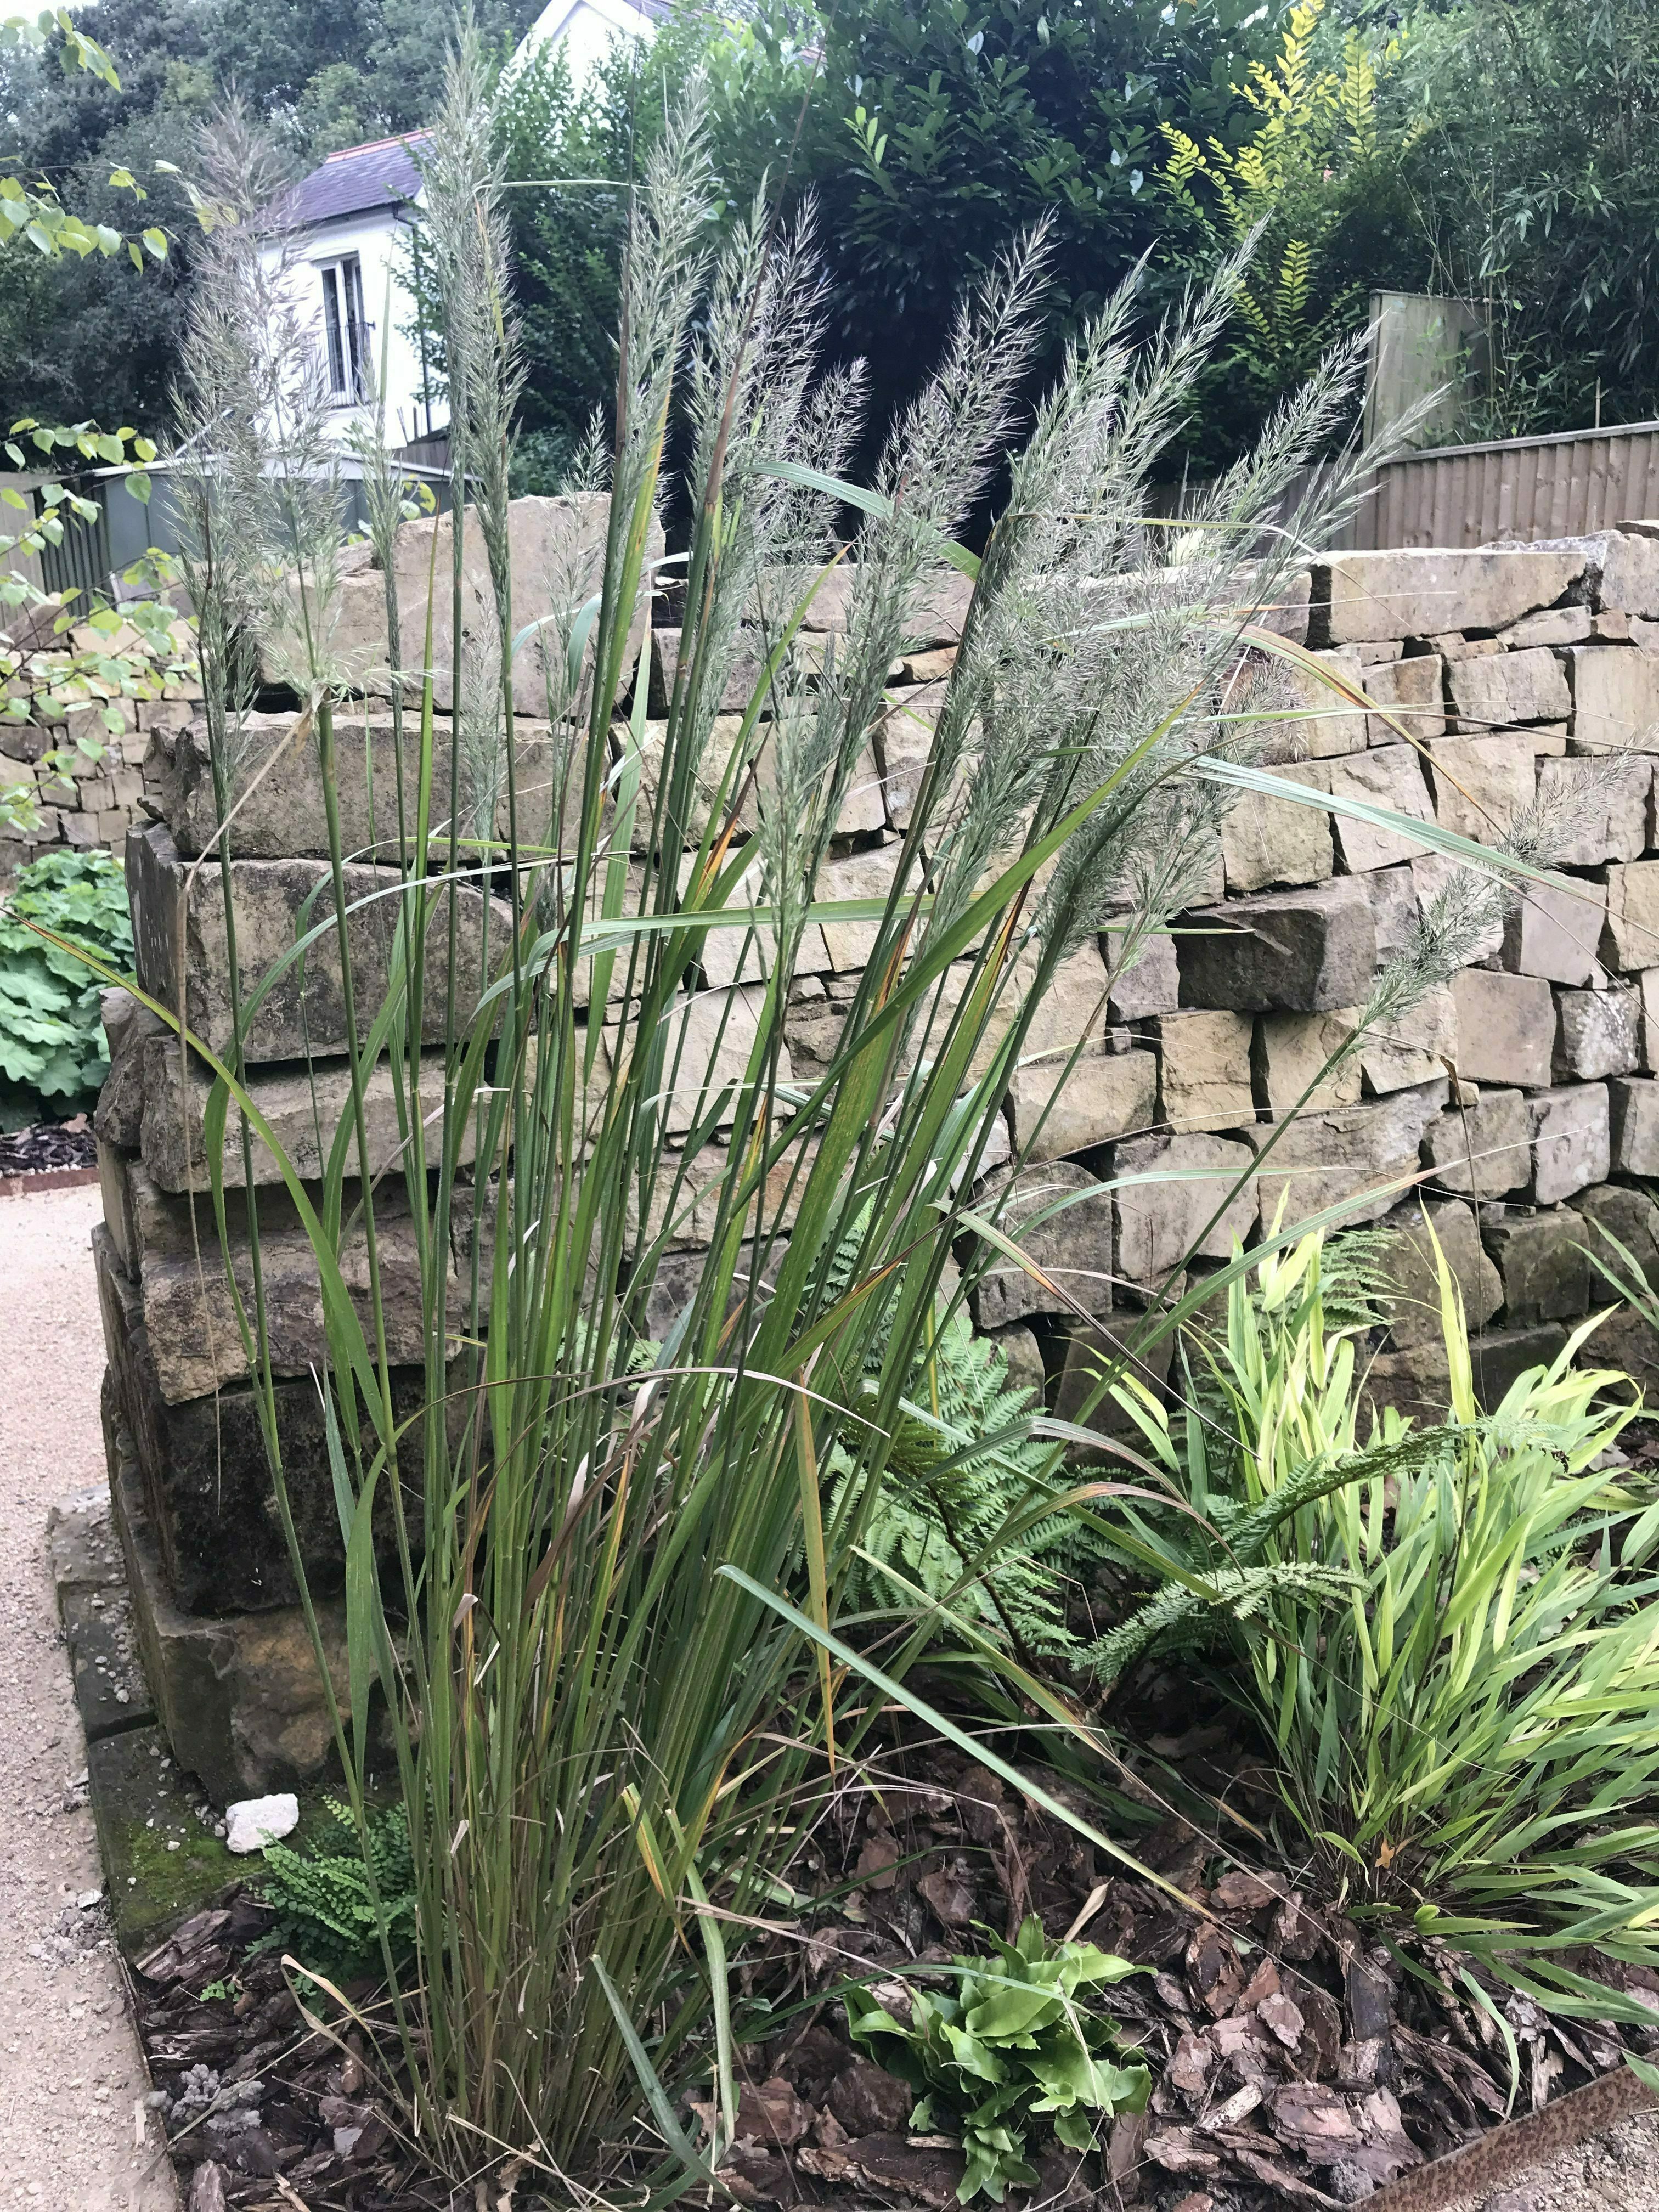 Here are some photos of the beds that surround the wall now that we have planted into them. We’ve used Japanese forest grass (Hakonechloa ‘macra‘) and different types of ferns in each of them. We decided on ferns since we love the ones growing in the wide border; it also seems appropriate given our close proximity to the wood where they grow widely. We also planted Korean feather reed grass (Calamagrostis ‘brachytricha‘) into each entrance way to provide some formality – this last photo was taken after the flower spikes had emerged. It will be exciting to see how all of these plants establish themselves.
It looks fantastic. I bet those ducks will be back next Spring…
Thanks mum – fingers crossed! Would love it if they came back x
Amazing ambitious project. I am sure the final results will be beautiful. Planting already looks lovely. How wonderful to sit on your bench and take this is In – and the wildlife that will find it and colonise.
Thanks for your comment Jackie – yes, it will be great when the wildlife moves in; I think all the work has scared them off for the time being x
Guy this is incredible, you both have so much energy. Can’t wait to see it fully established xxx
Thanks Jill for your support and kind words 🙂 x