
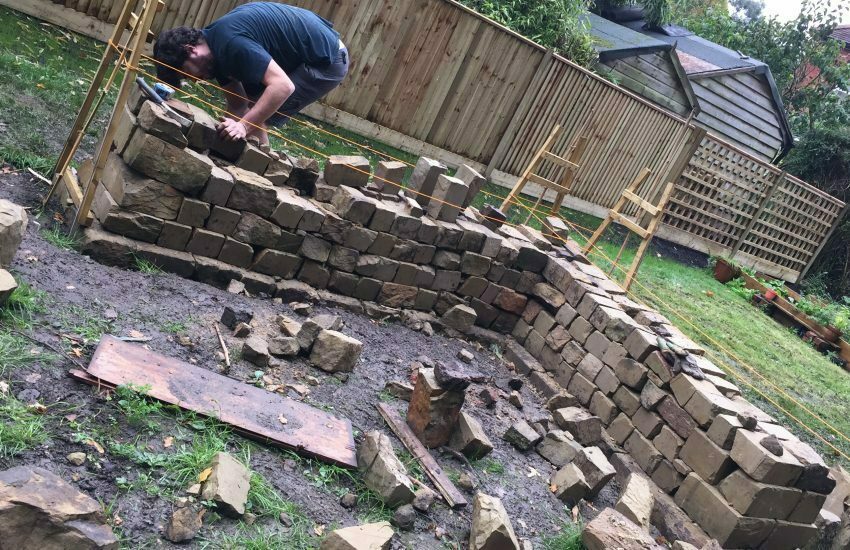
During September and October we continued to slog away at the wall as you can see from the pictures! It was actually easier going as we’d learnt a lot from our experiences building the first quarter. The biggest difference was realising that we could really chip away at stones so we could fit them where we needed them to go; we also learnt that we should make each course as flat as possible (I realise how obvious that sounds!) Ensuring that each course was flatter meant that the subsequent courses could be assembled much quicker. After finishing this quarter we decided that we would not attempt any more of the wall this year, as we didn’t want to work through the winter. We thought it would be better to start again on the final half early in Spring 2018 – hopefully we’ll have enough stone to get us through to completion (I doubt it!)
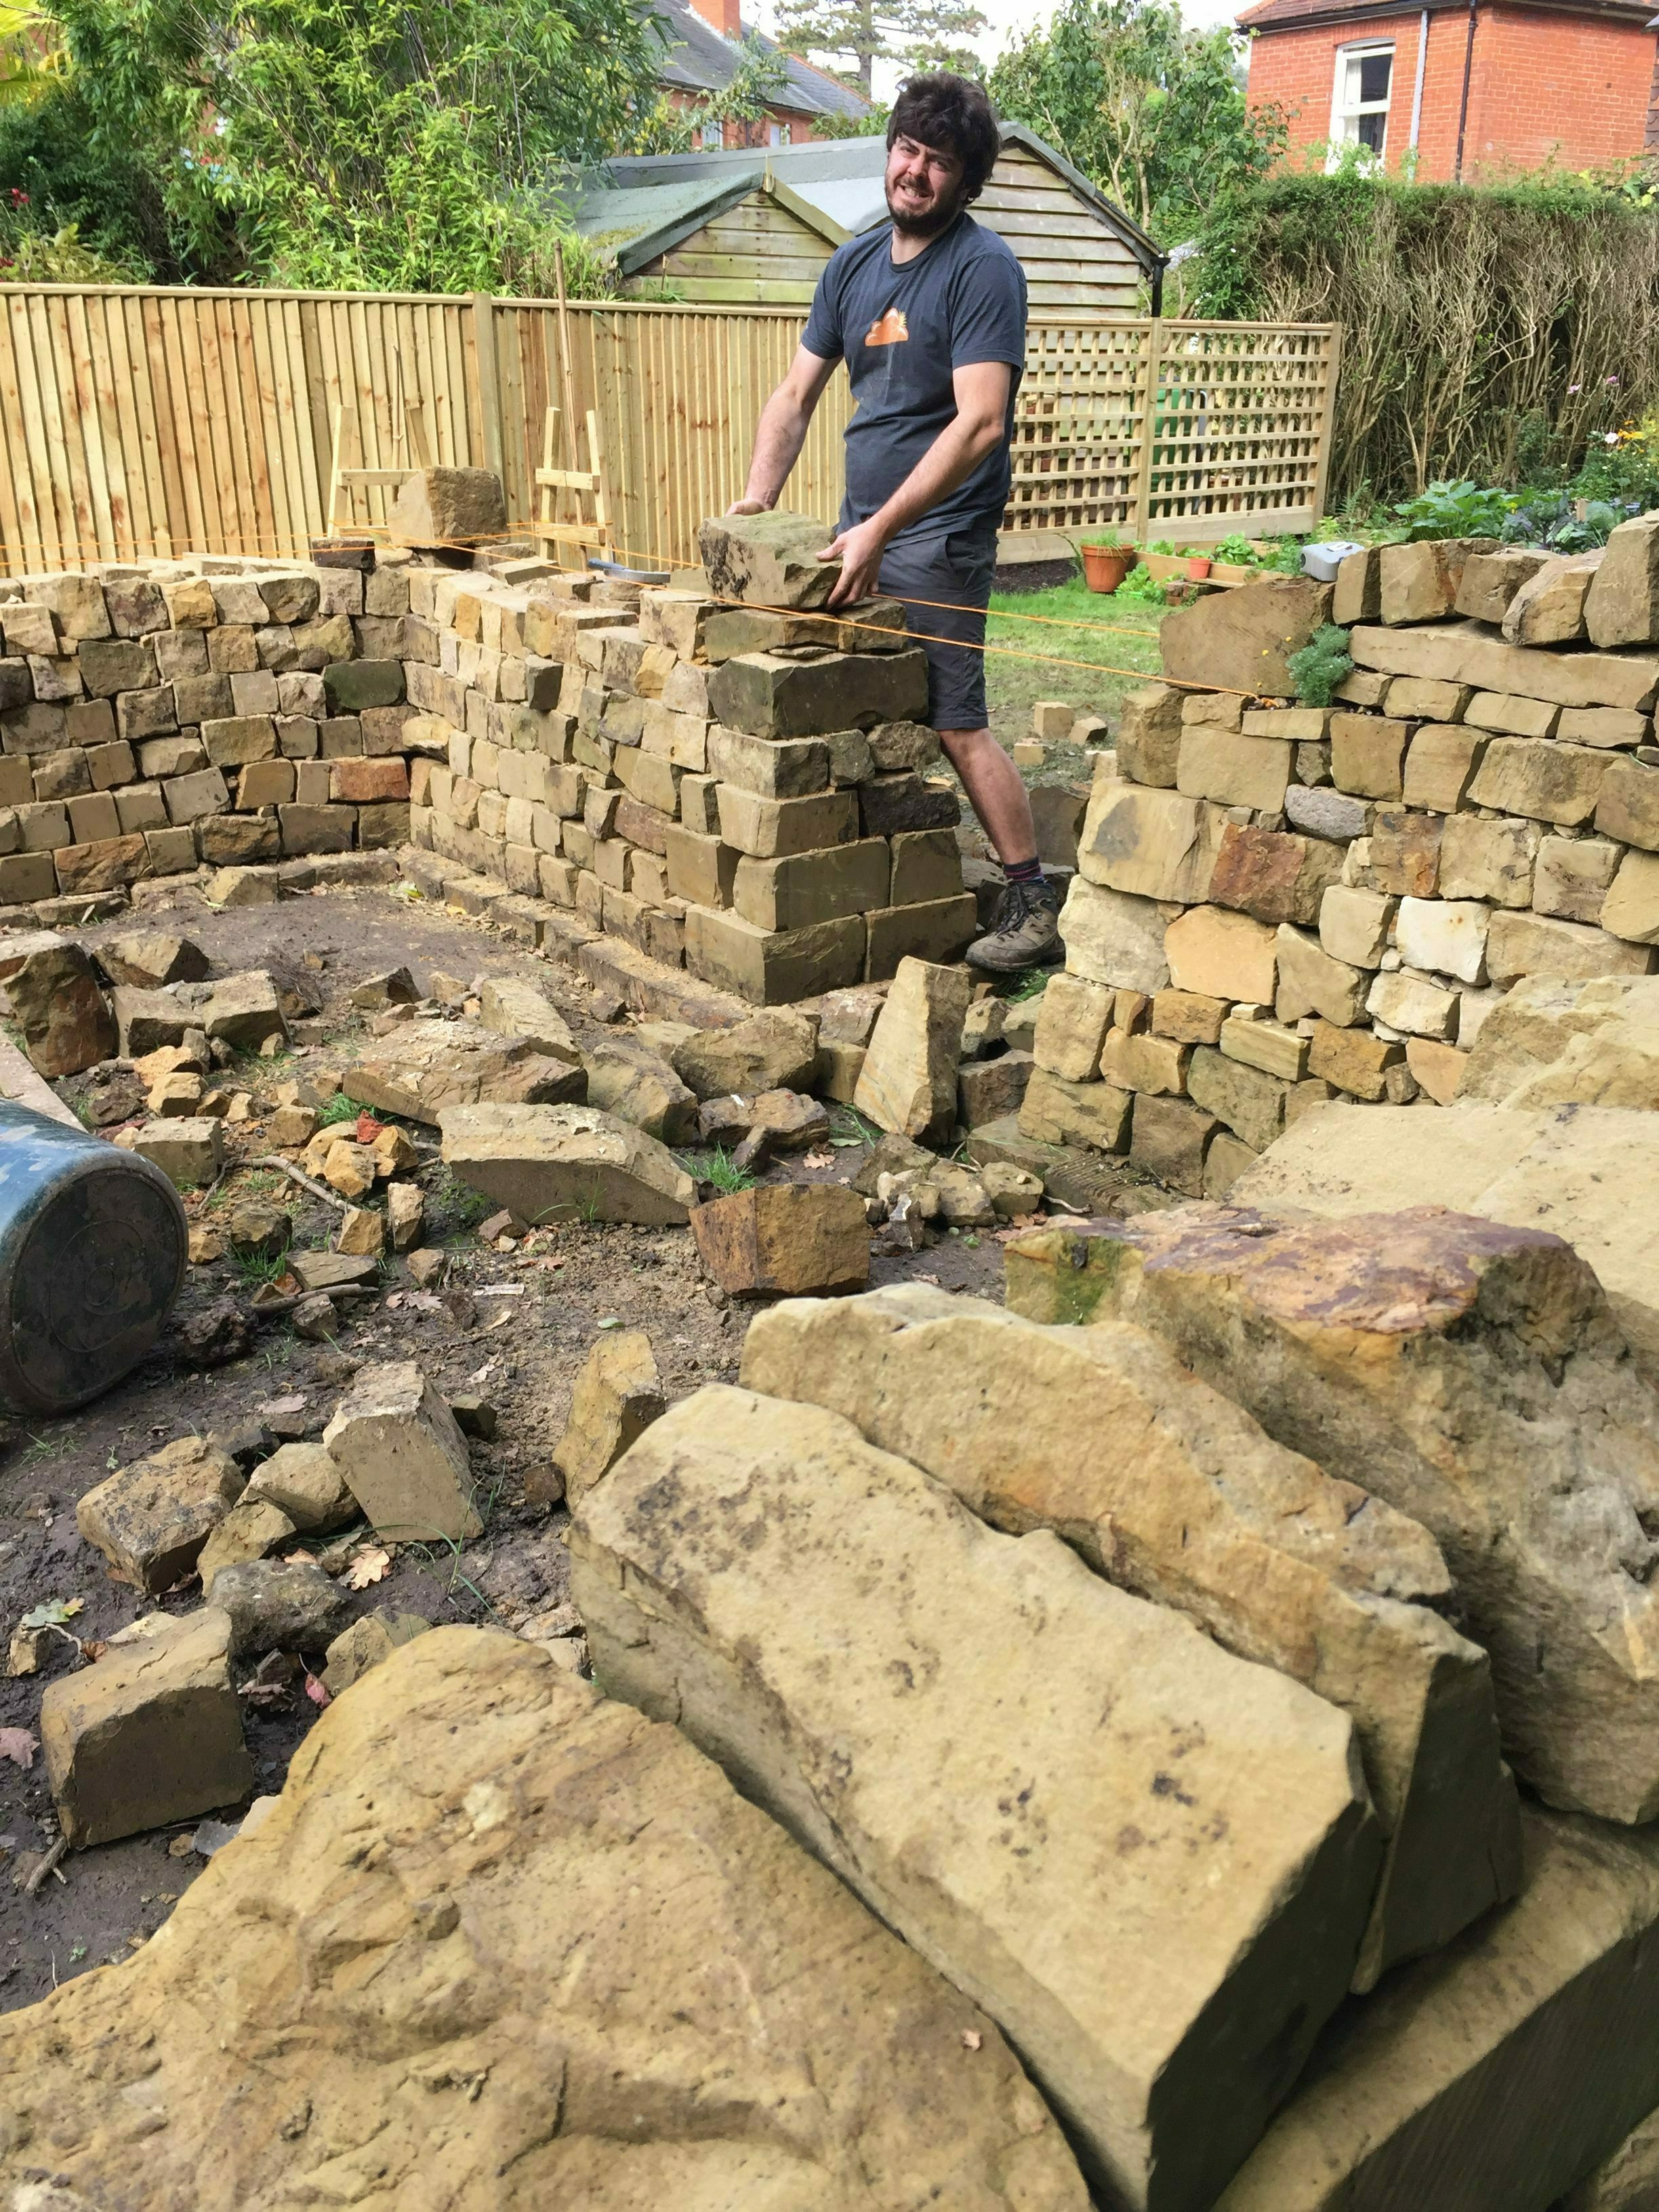
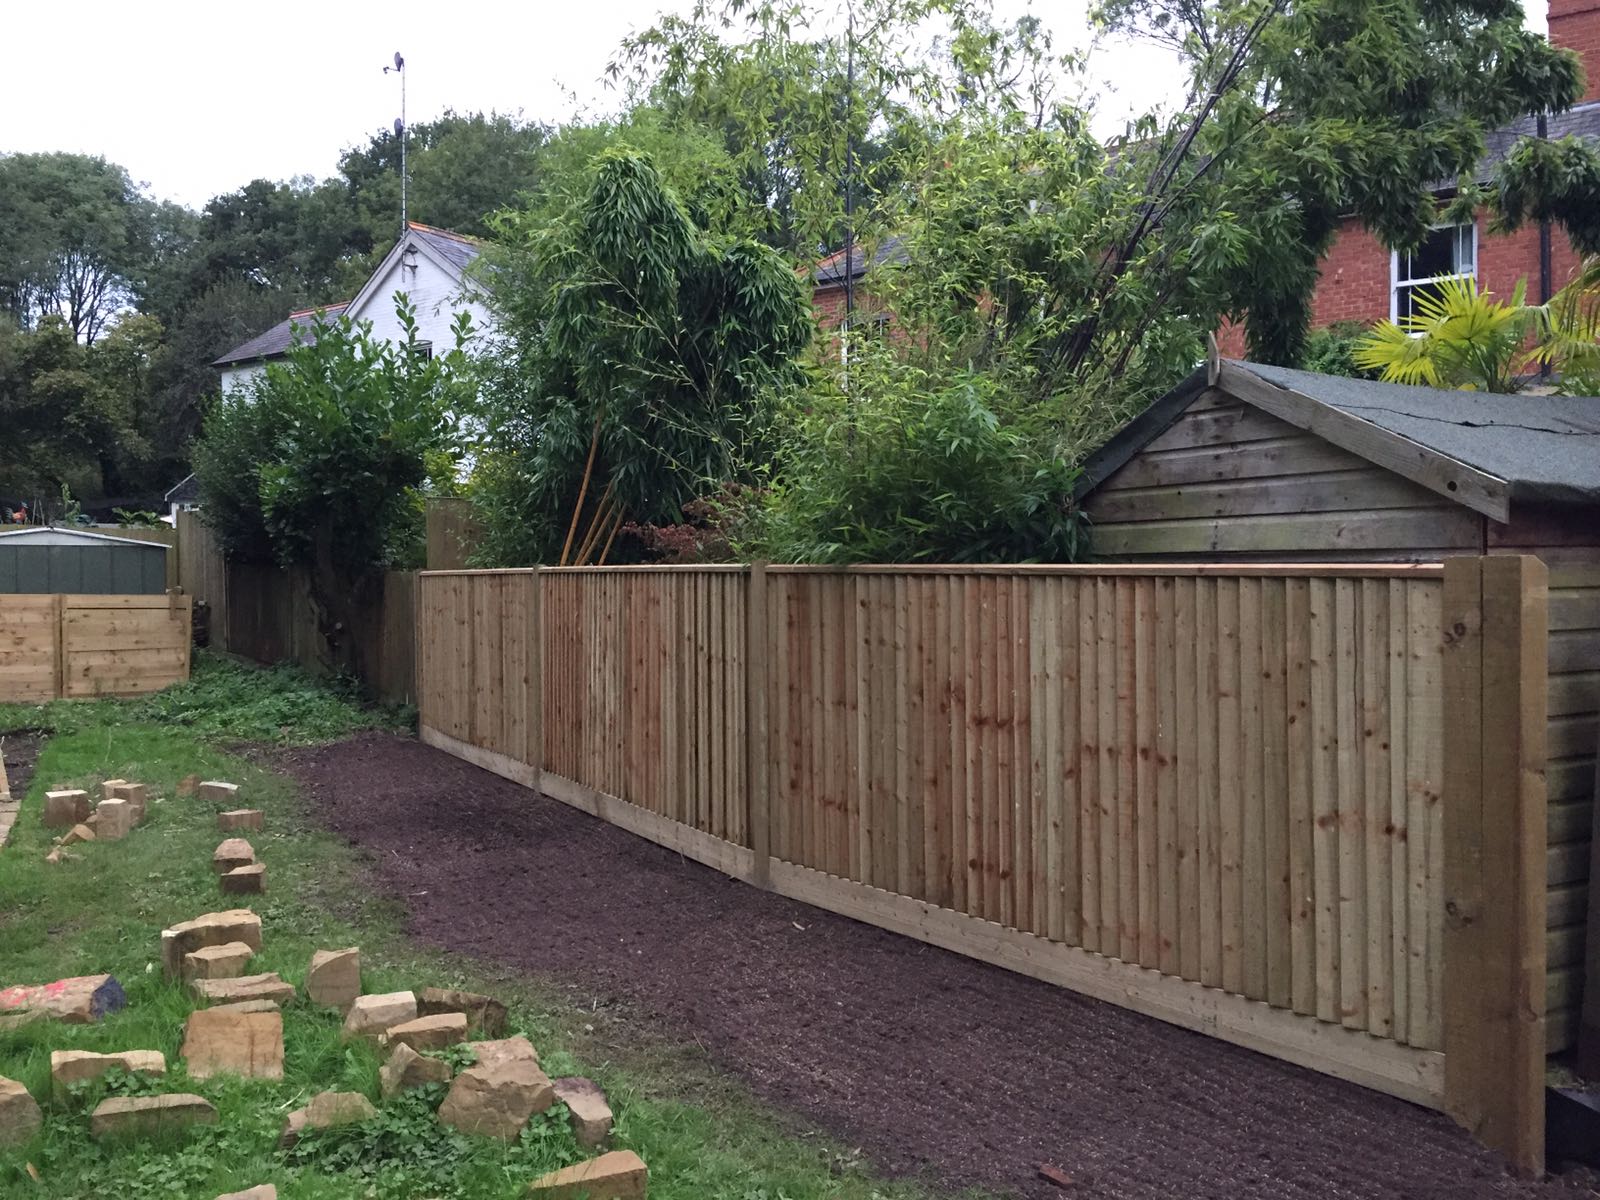
As well as quarter 2 of the dry stone wall being completed, our neighbours had their fence constructed – the guy that made it did a fantastic job and built it from scratch (no panels etc). When he fist came to measure up he thought that Luke was a professional dry stone waller(!) In time I want to grow some sort of evergreen climber on it so that we conceal all the fences. Below is a video of the second quarter of the dry stone wall on the day we finished it; there is also a short video of the completed fence.
I lived on Cape Clear Island off-season in the ’70s and loved the stone fences and stiles. Watching and learning from you will be very helpful for whatever I end up doing with stone. Please share your struggles to make rows level, please. Thank you for sharing.
Hello Jill! I had to google where Cape Clear Islands was – It sounds more far flung than Southern Ireland although looks beautiful! We actually learnt so much about the process of dry stone walling from this this youtube video – it’s very detailed and has a helpful commentary: https://www.youtube.com/watch?v=FOlpjWGclPo
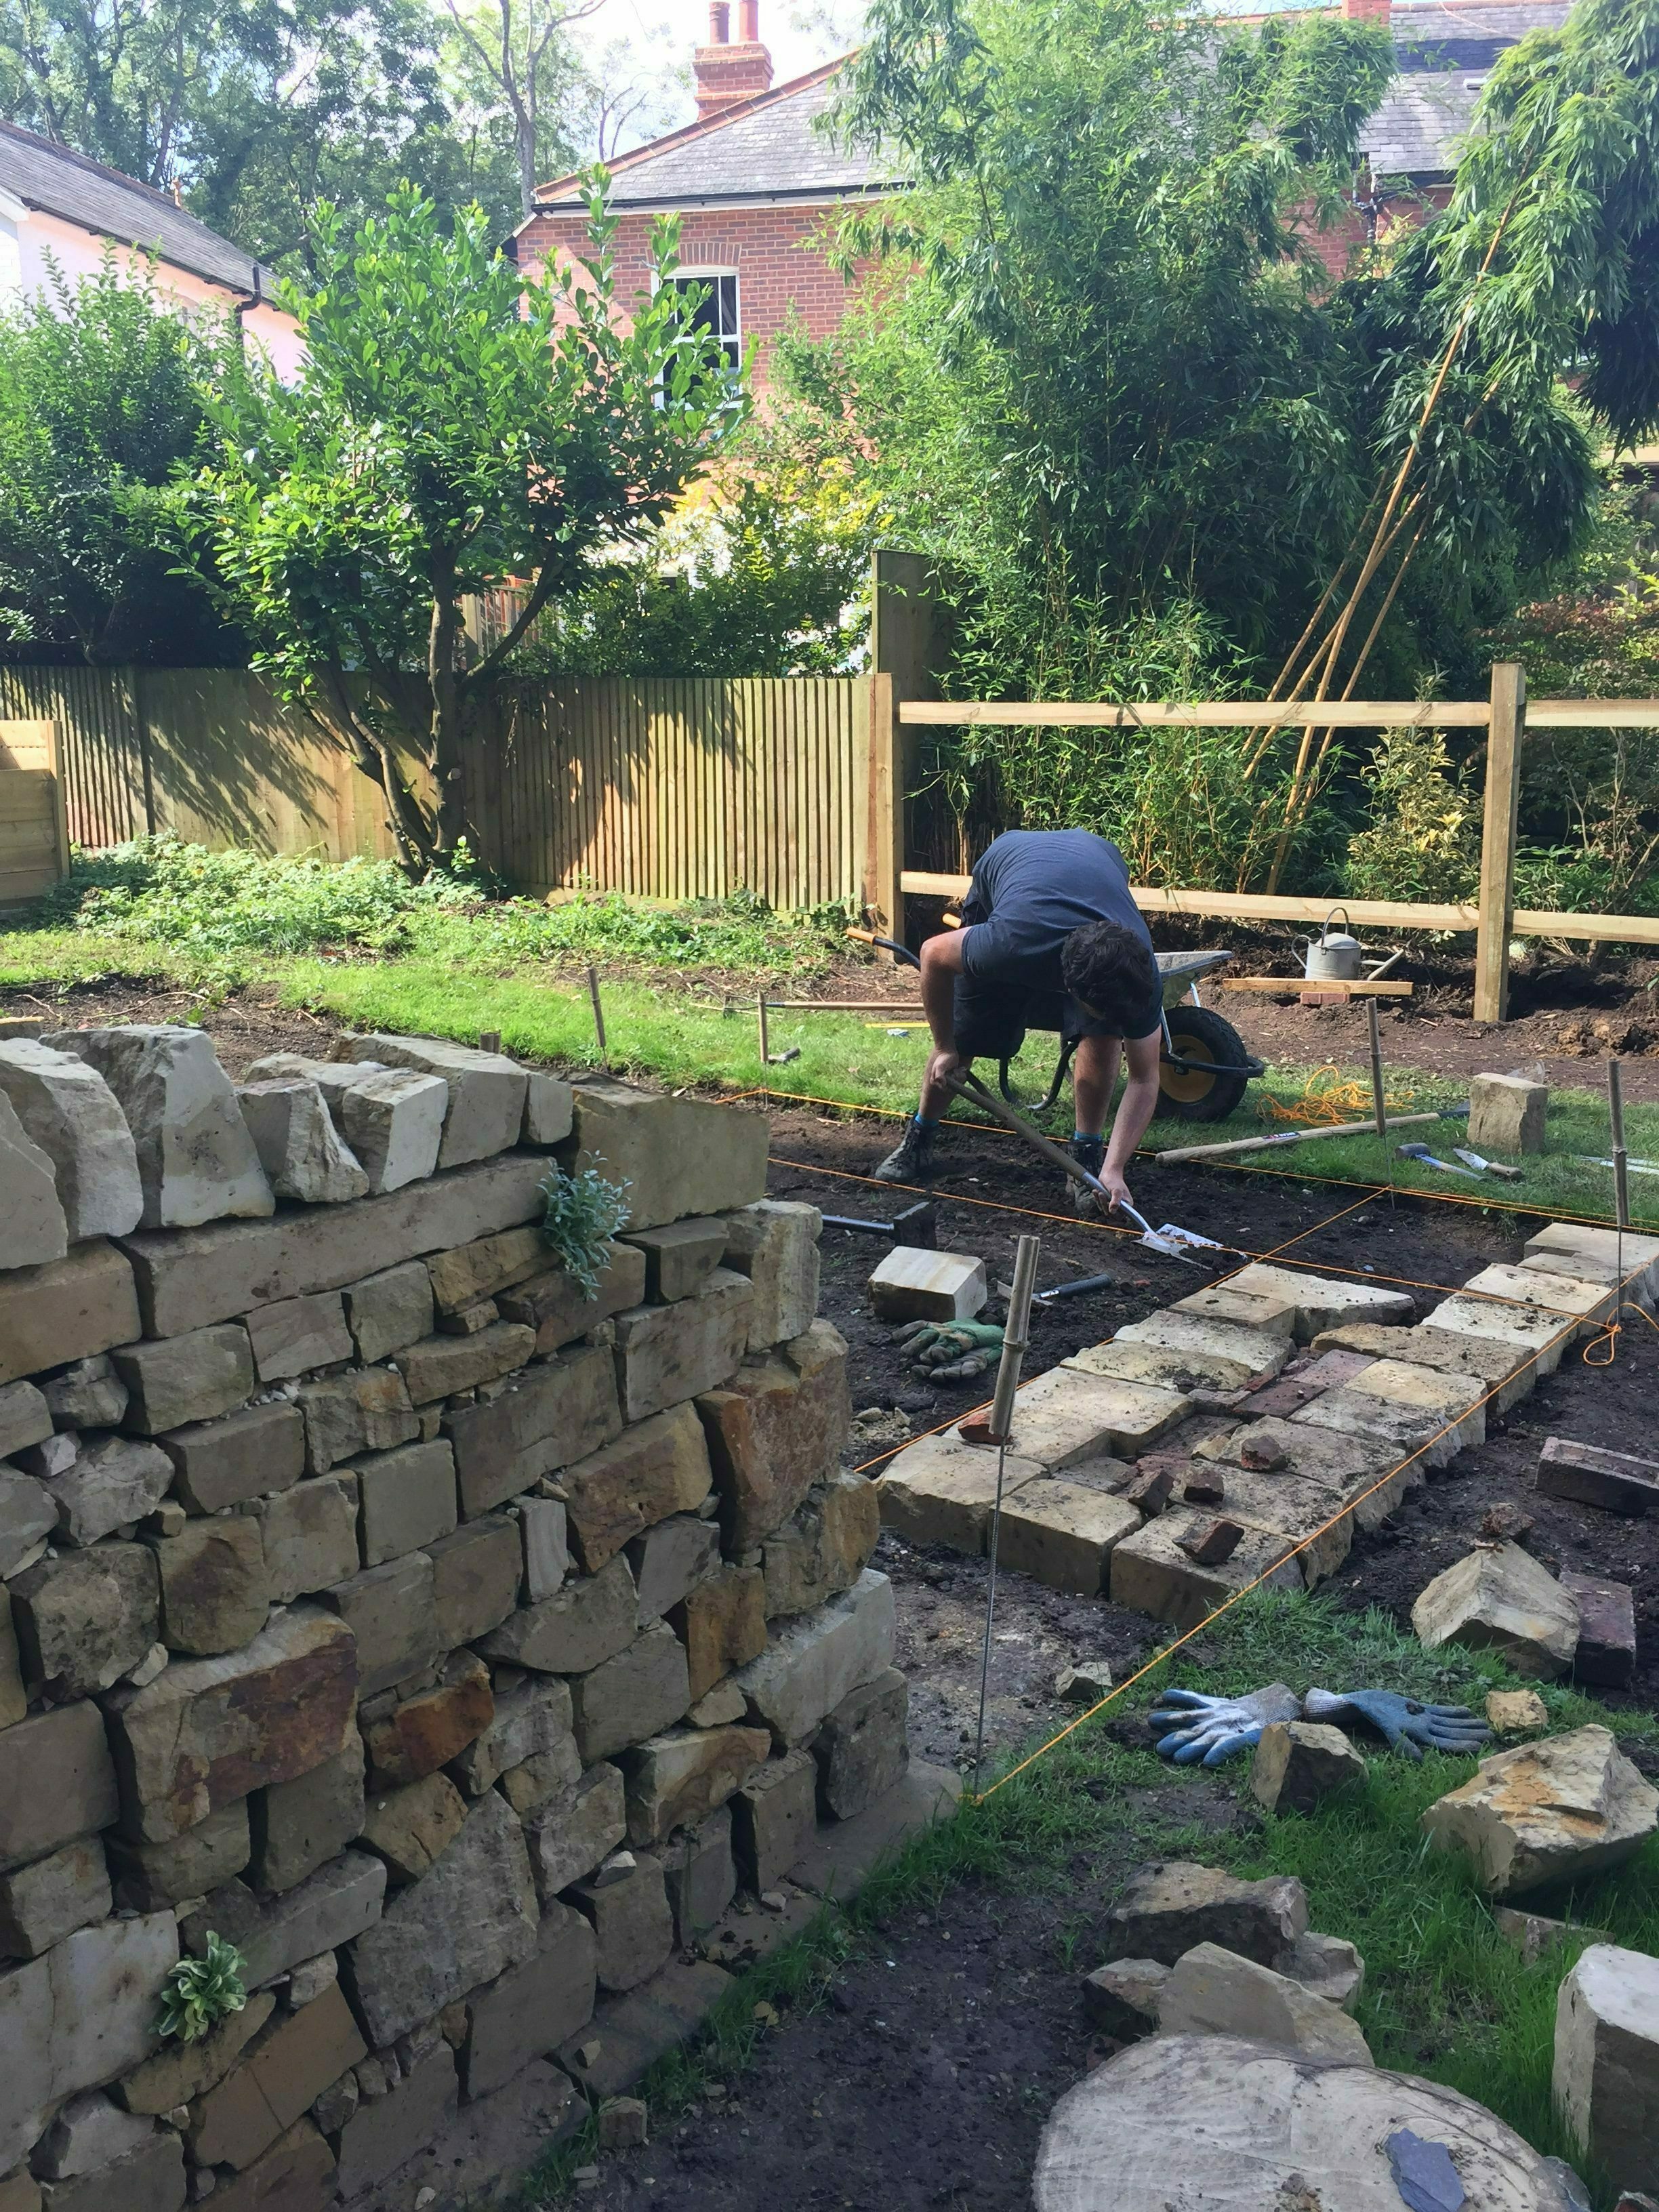
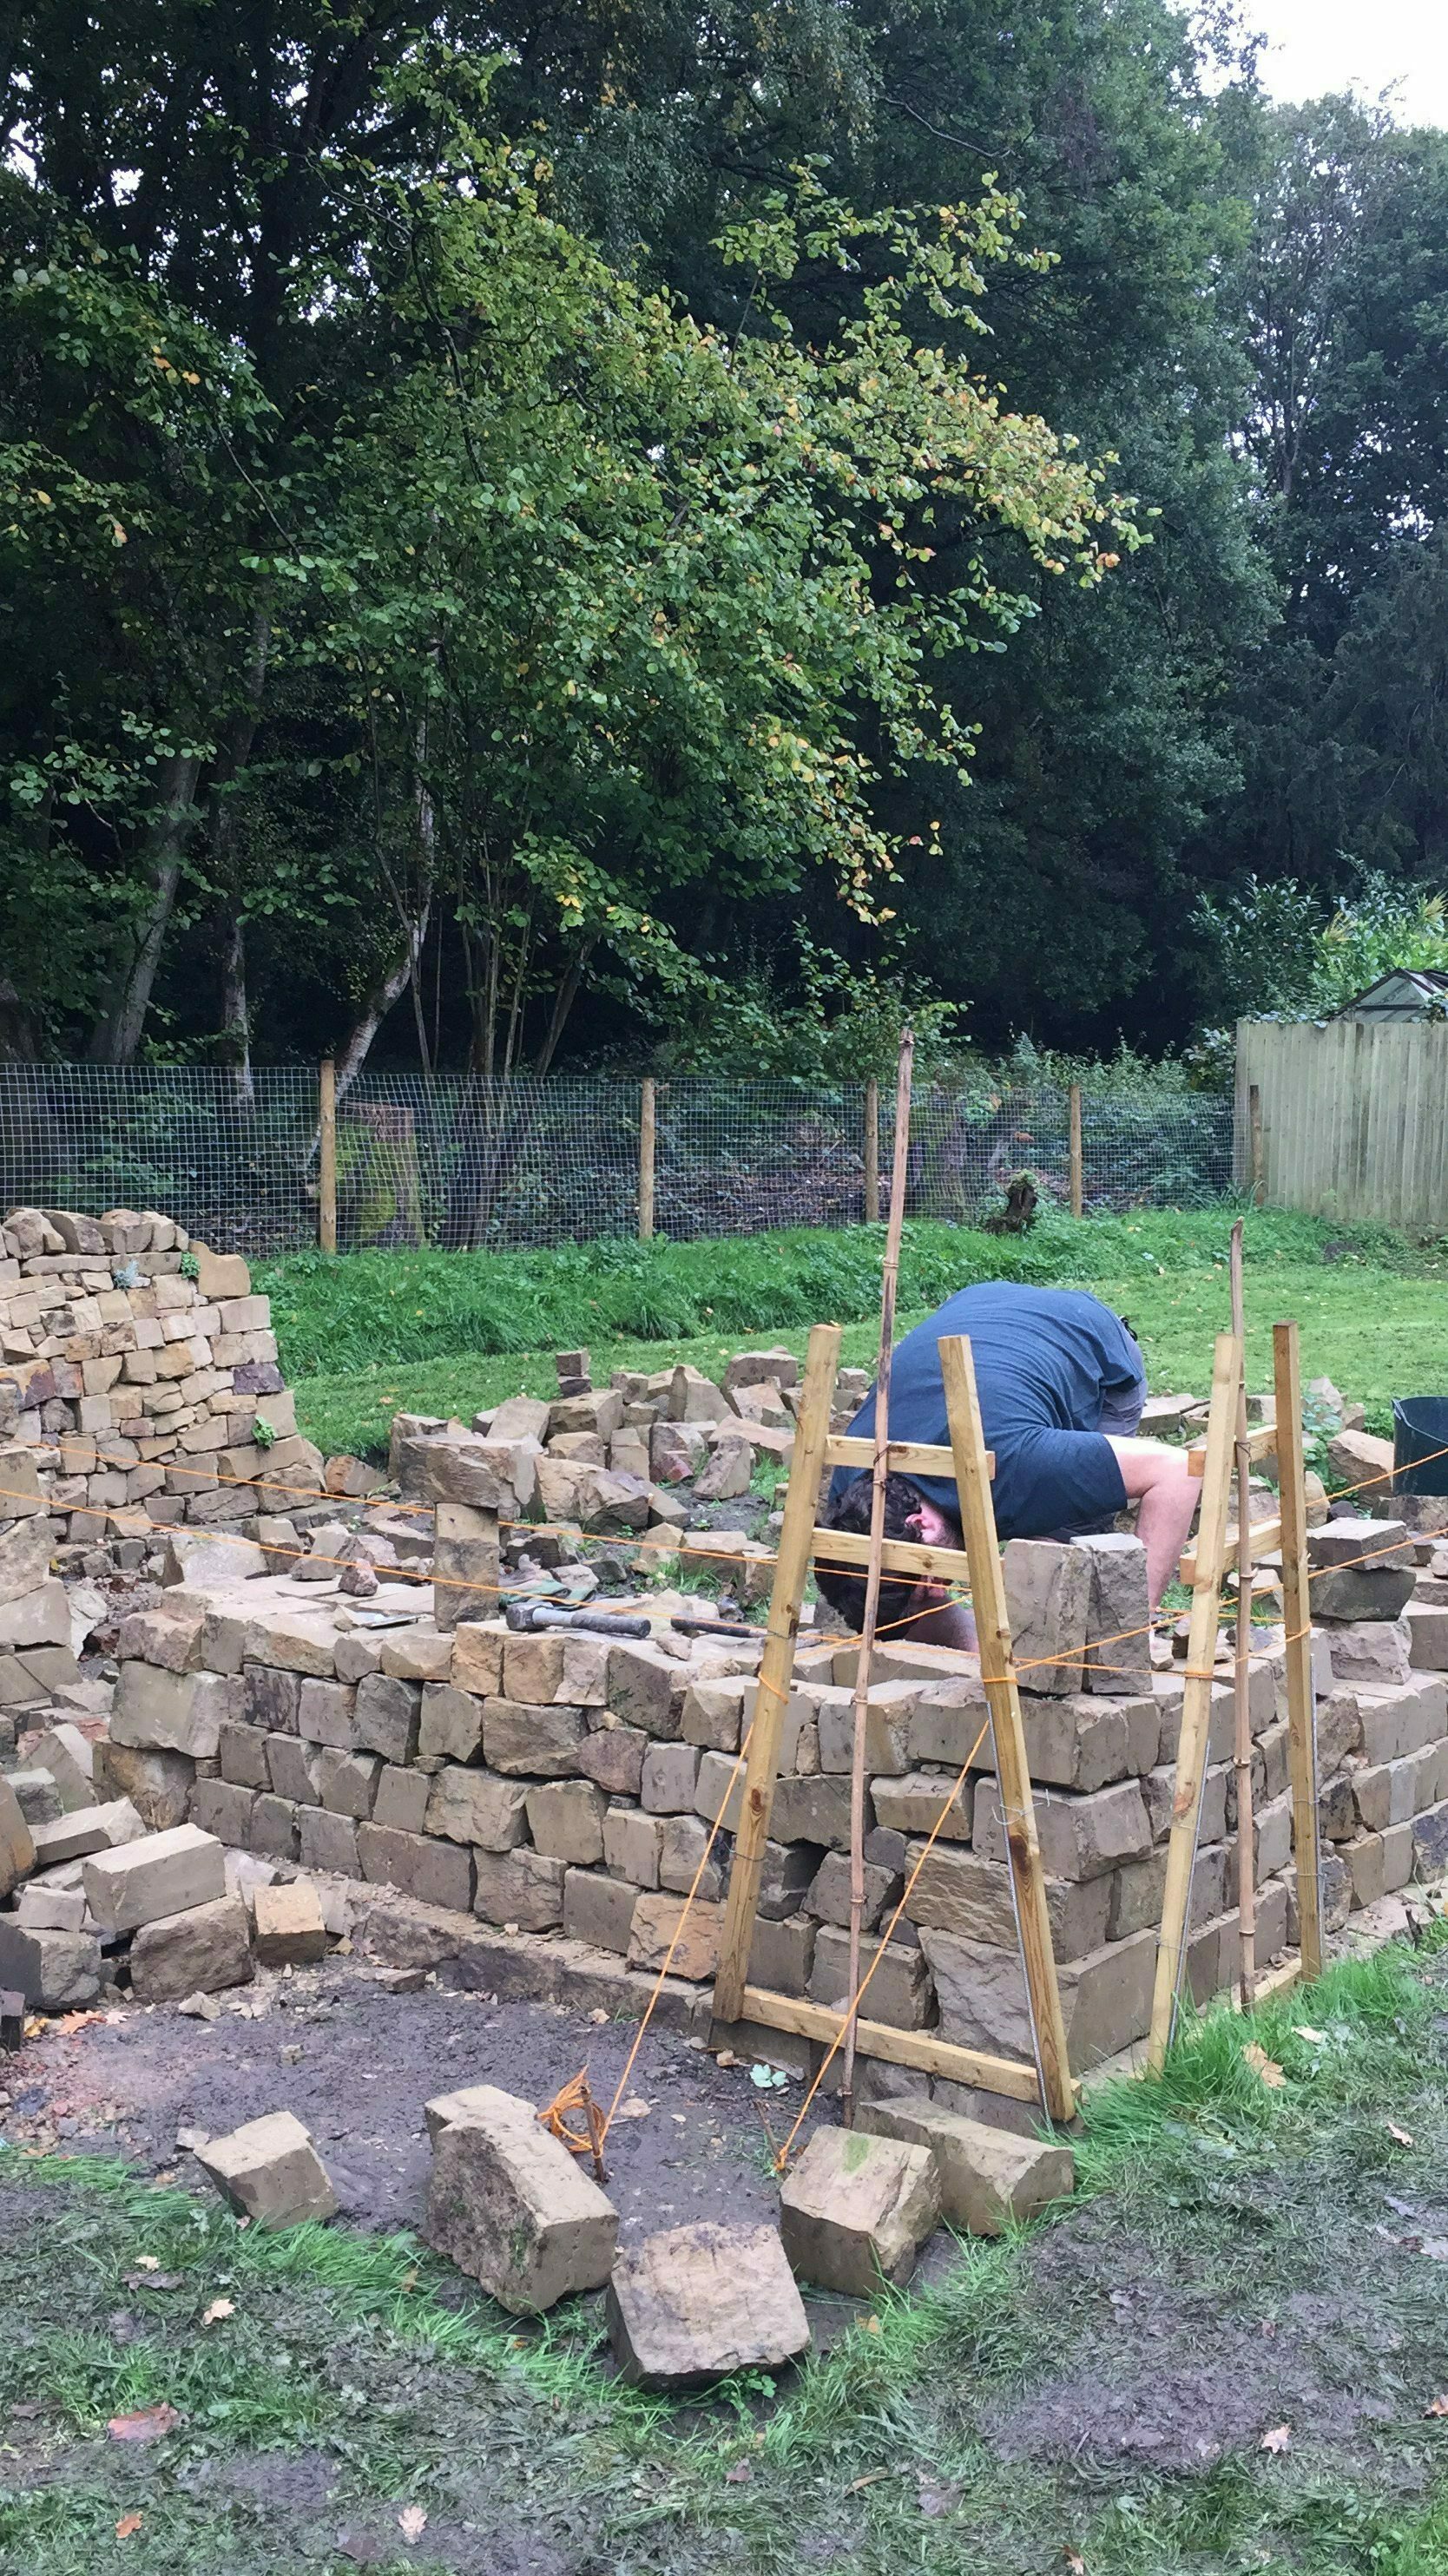
In order to make rows level we used an ‘A’ frame at either side with string that connects them – we use a spirit level on the string to make sure it’s level at the beginning; we then place the stones up to the level of the string. We have found this process to be effective :). Let me know how you get on when you start!
Thanks for your message and happy walling!
Guy